Camping With The Family – Here’s What You Need

With restrictions and safety measures in place due to COVID-19, this summer’s travel has been a little bit different. One trend I’ve seen make a big comeback among families is camping.
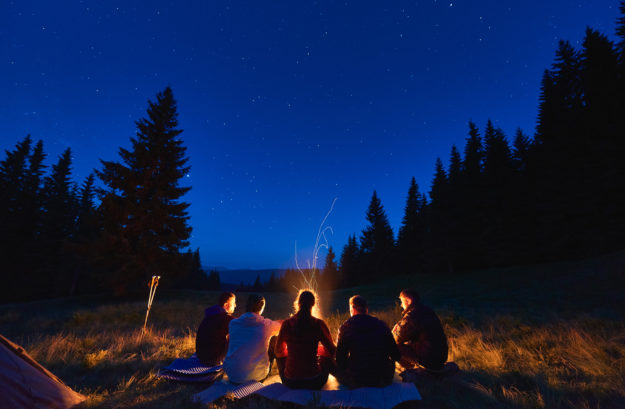
I’m not going to lie, sleeping in a tent in the summer heat did not sound appealing to me in the beginning, but I knew the kids would have a blast. As I started planning the trip – I started getting more excited about the idea too. I still prefer a resort and pool cabanas don’t get me wrong, but I think I’ve been won over by the great outdoors.

Planning a camping trip with kids can be very overwhelming. It’s hard to decipher what you really need and what you could do without. Camping gear can also be pricy, but good quality gear will last you decades. I went into this trip knowing if I bought the gear, camping was going to be a part of our future travels. I also bought things over the span of several months so it wasn’t a huge expense at once.

After crowdsourcing friend’s camping must-haves I went to work building our list and wanted to share it with you. I’ll break it down with camping must-haves, what’s convenient to have but you could do without, and luxury items (more of glamping) if you want to spend the money.

If you’re not up for a tent, many campsites have cabin rentals which feature small kitchens and bathrooms so be sure to check those options out. We have done both this summer and both were great experiences. I brought my own cleaning supplies and did a wipe down of the cabin when we arrived. You also bring your own sheets, etc., so it felt safe and clean. If you are on a campsite in a tent, many grounds have communal bathhouses to shower and use the restroom.

Now, let’s get started with my must-haves for camping. I’ll share my list and links below to the exact items we used. All were bought from Amazon and most were available on Prime.

Must-Haves:

Tent: we bought a Coleman 8-person tent to have the extra room. Most family blogs I’ve read said if you have a family of 4 – buy a 6 or 8-person tent.

Tent Kit: I feel like this was a must-have as it has a hammer for the tent stakes, extra stakes, a small broom with a dustpan (you’ll be amazed at how much dirt ends up in your tent!) and a small tool to help take out the stakes when you’re packing up.

Tent Tarp: This you lay down on the ground to put your tent on top of. It protects your tent from tears, water, etc. Tip: When you set up your tent, set the tent a little further back on the tarp so it gives you a space to leave your shoes before you step in the tent.

Sleeping bags: These ones are highly rated and not too hot but keep you warm when the temps drop. My tall hubby fit just fine in these as well. You can buy blow-up pillows, but we just brought our own. I’m weird about pillows.

Lanterns: We had four lanterns. Two that we could carry around and hang from trees, two that hooked on the ceiling of our tent / screened tent and doubled as a fan too. We also had these head flashlights that were needed at night to walk and when you needed your hands free.

Stove: We used the Coleman Stove and bought a griddle to top it as well. The griddle made it easy to cook eggs and bacon in the morning. You can also use it to cook over the campfire. Be sure to buy extra propane. We took two for a three-day trip and had some leftover. You can get the carrying case for the stove which makes it easier to transport. I’m all about compact and easy when camping. You can bring paper/plastic plates, cups, utensils to use and be fine, but I’ll share what we had in the next list.

Cooler: We brought two and had to make a few ice runs to keep all our food cold. One of our coolers is an electric refrigerator, but I forgot the electric plugin attachment as it only comes with a car lighter plugin. We had a site with water and electric hook up (which I recommend if you can), and could have plugged that in and saved on ice runs. Highly recommend this cooler and you can use it anytime. Don’t forget to buy the electric plugin with it!

First Aid Kit: This is a must, especially with kids. The one we got has everything you need in case of a minor emergency.

Table Cloth: Get a disposable table cloth for your picnic table. You’ll thank me for this advice.

Duct Tape, Dawn Minis, lighters, lighter fluid, chillers for the cooler, and string. Trust me.

Here’s a quick look at all the must-haves:

Now onto my “makes your life easier” list:

Camping Shovel: You may not need this but we did. The ground was pretty hard and we had to shovel a bit to get our stakes in. It would have taken a much longer time to set up if we didn’t have this.

String with links and hooks. You tie these between the trees to hang wet towels and other camping gear. We had two of these to hang our gear and outdoor pantry.

Water Jugs. These things were a lifesaver! We filled them up at the basin and then used the water to wash our hands and brush our teeth. It came in handy when washing our pots, pans, and dishes too!

Soap Sheets and Wipes: These soap sheets are magic I tell you! They also made my kids want to wash their hands. Put the sheet in your hands and add water and it suds up. These wipes are perfect for camping too.

Shower Pods: These are handy and a one time use. I got these along with mini loofas and a shower caddy. If you want to save space by not packing towels, these came in handy for our tent and cabin weekends. These are compact and come with a face towel, bath towel, and washcloth.

Battery: Even if you have an electric hook up these batteries come in handy and last a long time. They have an electric outlet, lighter and USB connections. Speaking of batteries, take some extra batteries as you may need them for flashlights, etc.

Tent Fan: If you’re camping in summer and want to sleep without being miserable, I highly suggest a larger fan. This one gave off a lot of cool air and ran on D batteries. It lasted all three nights.

Sleeping Cots: Could you sleep with just a sleeping bag? Yes. Is it comfortable? No. Our tent was on some tree roots and we tried to use small pads under our sleeping bags and it was brutal. Definitely get a quality air mattress or a cot. My husband actually drove back to our house and got these for us to sleep on. The only con is they are bulky and take up a lot of car space. We have a large SUV and could have used a rooftop luggage storage but we shoved it all in. I fit most of this gear in one suitcase and we packed our clothes in backpacks.

Camping Backpacks: I am all about compact items when camping as we have to fit it all in our car or it doesn’t come. These backpacks are great and we fit 3 days worth of clothing and a few stuffed animals in them. They worked great for taking our towels, sunscreen, and water bottles to the pool area too.

Outdoor pantry: This was so helpful! We used this to house our bread and dry food and hung it from the strap on the trees.

Camping Chairs. Sure you could bring your own fold-up chairs, but again that takes up too much space. I found these chairs and they fold into very small zip bags with a handle. They all fit in my suitcase with the other gear. Highly recommend.

You can’t go camping and not have S’mores! We love our marshmallow roasting sticks!

A quick look at makes your life easier items:

Lastly, here is my glamping list to really making tenting easy!

Outdoor Kitchen: This is the one we got and loved it! It has a zipper compartment that held our chips and our dishes and cooking utensils. Totally worth it and folds up small into a nice carrying case. This set up made life easy and made cooking outdoors fun.

Kitchen supplies: We bought reusable dishes and camping pots and pans as we want to use these for the future and they are compact. We took these knives and these cooking utensils that came in very handy.

Spices. Don’t want to bring all your spices? This is perfect. Everything you need in one small bottle.

Collapsable Sink This sink has a cutting board as well and came in useful for washing our cookware and prepping food. I also bought a collapsable trashcan that zips up at night and keeps any animals away.

Screen Tent: We had this and have used it at the beach before and it came in handy for camping. We put it over the picnic table so we could eat without bugs swarming us and our food.

Hammock: My kids would say this is a must-have as they spent most of their time in it. They must be popular too because so many other people had them. They are comfortable and fun!

Recap of my glamping list:

Most of these items were $25 and under with the exception of the larger things. We also store all the small items in two bins in our basement so they don’t take up a lot of space. I know it seems like a lot but just remember you can use these items for years to come and they making camping life so much easier! In the next post, I’ll share some camping hacks!

Here’s to making many more camping memories!

**Any links shared are affiliate commissionable links through the Amazon Affiliate Program.

Father’s Day Gift Guide

Father’s Day is just around the corner! I don’t know about you, but I always struggle to find the perfect gifts for the men in my life. I’m also a last-minute shopper. Dates always seem to sneak up on me, especially now. So, if you’re like me and still looking for a gift for that special man in your life for Father’s Day, here is a list of gifts they are sure to love.

Their favorite Craft Spirits

I recently learned about the craft spirit service, Spirit Hub a few months ago. Spirit Hub, (intended for a 21+ audience), is a new online craft spirits retailer lawfully authorized to deliver straight to your door. They have a variety of delicious craft spirits, they share the stories behind the distilleries, and they share some great drink recipes, too. I shared some craft spirits we’ve tried so far and my favorite bourbon and vodka recipes in recent posts if you want to check them out! If the dad in your life is into craft spirits, this is the way to go. If you want FREE shipping when you order, enter the code: SHIPHOLLY at check out. #spirithubaffiliate.

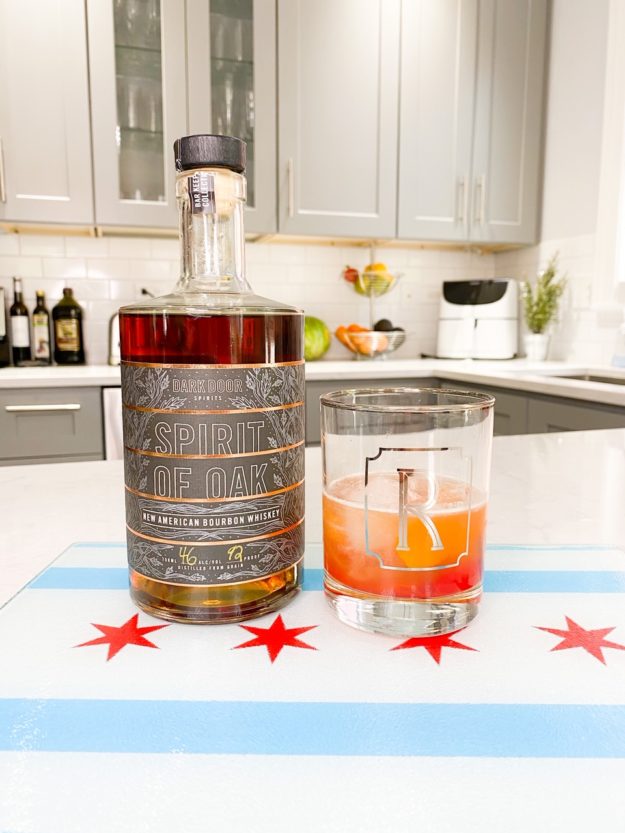
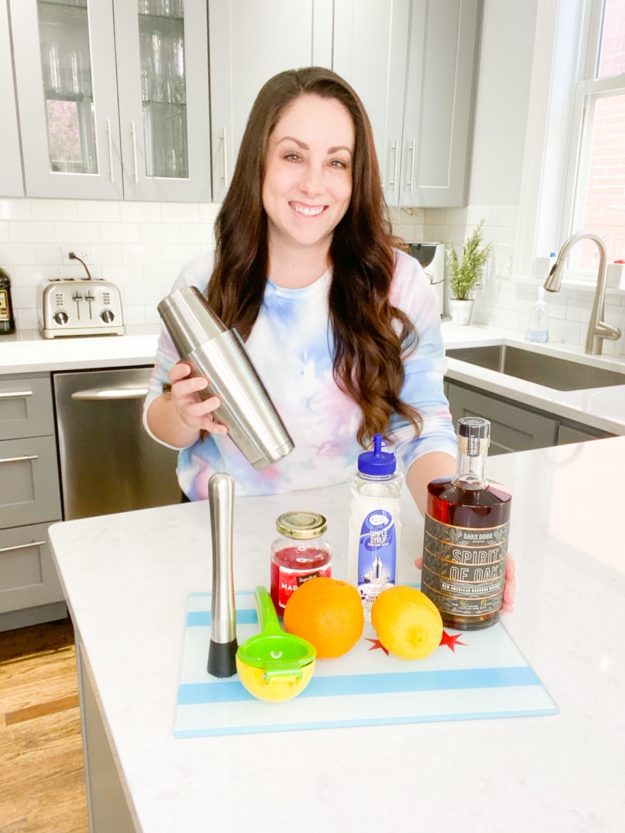
If dad is a whiskey drinker, I recommend ordering Spirit Of Oak Bourbon Whiskey, it doesn’t disappoint. If you want to follow this theme, here are a shaker set and ice molds both available on Amazon Prime so they arrive on time. Got to love that one-day shipping!

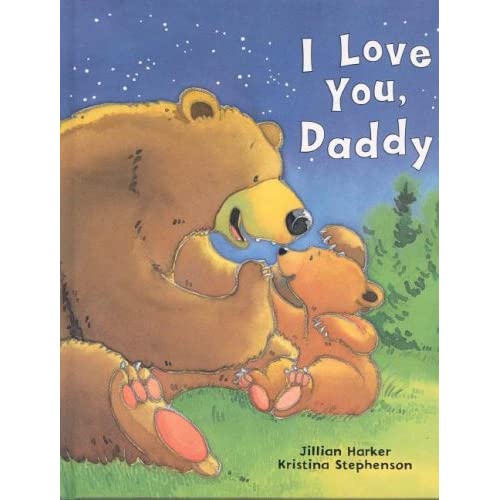
If you’re looking for something sentimental and have small kids, this book is a must. The boys got this book for Adam a few years ago and he still reads it to my little one at night.

If dad is also someone you call chef, a grill accessories kit is always a hit. My husband has a similar one and we use it all the time. I also found this fun professional beef jerky maker.

You know I’m all about self-care and it’s so important now more than ever. Times are stressful so I know dad could use some love too. Here are a few gift ideas to help dad relax and be pampered.

Thank you to all the dads out there showing up every day and wishing all of you a very Happy Father’s Day.

*All links are affiliate links and I may receive a small commission for purchases. (and when I say small, I mean very small).

Best Bourbon Summer Cocktails

Bourbon is something I’m just getting into. I know it is a favorite to many and I can see why. Bourbon cocktails are delish. Now that summer is upon us and we will be spending a lot of time at home, I wanted to share some of my favorite bourbon cocktail recipes you’re sure to love!

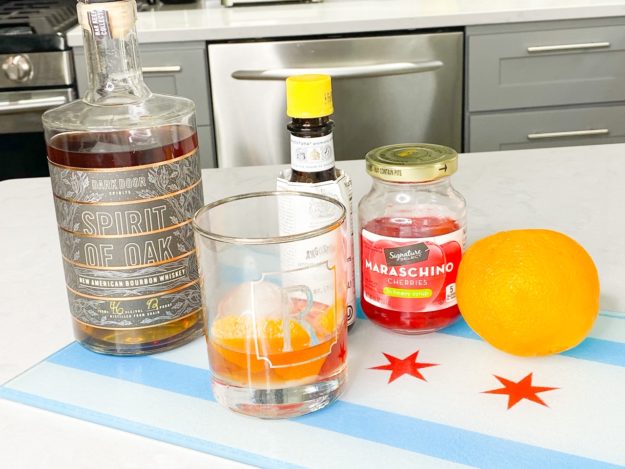
For these cocktails, I’m using a craft bourbon, Dark Door Spirit Of Oak. Dark Door Spirit of Oak is one of the many craft spirits available through Spirit Hub, (intended for a 21+ audience) a new online craft spirits retailer lawfully authorized to deliver straight to your door. Yes, they deliver straight to your door and who doesn’t love supporting smaller independent distilleries? If you want FREE shipping when you order your craft spirits enter the code: SHIPHOLLY at check out. #spirithubaffiliate.

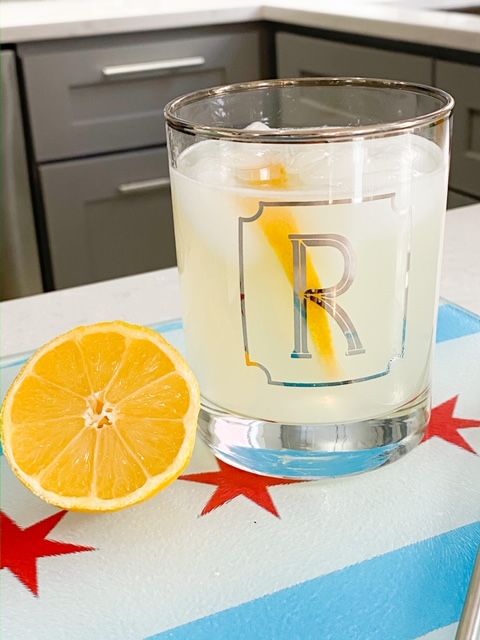
First up is The Bourbon Sour. This is a popular one for its sweetness which compliments the bourbon. Here’s what you need:

  • 2 ounces bourbon whiskey* (again, I’m using Dark Door because of the rich tones of vanilla, molasses, and toffee).
  • 1 ounce fresh lemon juice.
  • 3/4 ounce pure maple syrup (or simple syrup)
  • Garnish: Orange peel and a cocktail cherry
  • Ice, for serving.

Directions:

  1. Add bourbon, syrup, and lemon juice to the shaker. Add ice and shake.
  2. Strain the drink into a lowball glass with two cherries muddled at the bottom. Serve with ice and add an orange peel for garnish. Delish!

Next up:

The Bourbon Sidecar is a classic cocktail and a must-have!

  • 2 ounces bourbon whiskey
  • 1 ounce Cointreau
  • 1/2 ounce lemon juice
  • 1 teaspoon simple syrup
  • Lemon Twist

Directions:

  • Place all ingredients in a cocktail shaker with a handful of ice and shake until cold.
  • Strain the drink into a cocktail glass. Garnish with a lemon twist or orange twist.

Next: The traditional Old Fashioned. My husband’s favorite.

  • 1 sugar cube
  • 4 small dashes of bitters
  • 1/2 teaspoon water
  • 2 ounces bourbon
  • Garnish with an and cocktail cherry

Directions:

  • Put a sugar cube in a glass and add the bitters. Add water and mash and swirl it with a muddler until the sugar is dissolved.
  • Add the bourbon and swirl to combine. Add one large ice cube.
  • Squeeze a little of the orange peel into the drink.
  • Garnish with a cocktail cherry

Want to put a spin on an Old Fashioned? Add some bubbles!

  • 2oz Bourbon
  • 1/2oz Fresh Lemon Juice
  • 3/4oz Simple Syrup
  • 3 dashes Bitters
  • Champagne
  • Ice Cubes

Directions:

  • Add ice cubes to a high ball glass. Pour in bourbon, lemon juice, simple syrup, and bitters; stir gently. Top with champagne. Delish!

Here’s to a lovely summer filled with yummy cocktails thanks to Spirit Hub!

Vodka Cocktails You’re Sure To Love For Summer

We are approaching Summer and one of my favorite things to do in the summertime is to entertain friends. This summer will be even more meaningful after being in quarantine for months. I can see it now – barbeques, sun and signature cocktails!

Lucky for me, I recently came across Spirit Hub, (intended for a 21+ audience) an online craft spirits retailer that delivers straight to your door in Illinois! You read that right, high-quality craft spirits from independently-owned distilleries that you CAN’T find in stores delivered to your home! And that’s not all, you get FREE shipping when you enter the code: SHIPHOLLY at check out as I am a #spirithubaffiliate. You can thank me later.

Through Spirit Hub’s unique platform you can choose between a wide variety of craft spirits and get full access to the story behind every craft spirit distillery they’ve partnered with along with signature drink recipes, tasting notes and more.

The first up for me was Wheel House Sacramento Vodka, which is award-winning for its sweet and malty savory taste. I combined this with lemonade, lemon juice, and LaCroix Lime to switch up one of my favorite summertime vodka cocktails to showcase first.

Recipe: Summer Vodka Lemonade

  • 2 oz. Wheel House Sacramento Vodka
  • 1.5 oz. Lemonade
  • .5 oz. LaCroix Lime (or Key Lime)
  • Mix and serve over ice with a lemon slice – Cheers!

Next up, we have the very tasty Aperol Cosmo.

  • 2 oz. Wheel House Vodka
  • .5 oz Lime Juice
  • 1 oz Aperol
  • Splash of soda (or Lime LaCroix)
  • Shake vigorously with ice then pour in a martini glass
  • A lime twist for garnish

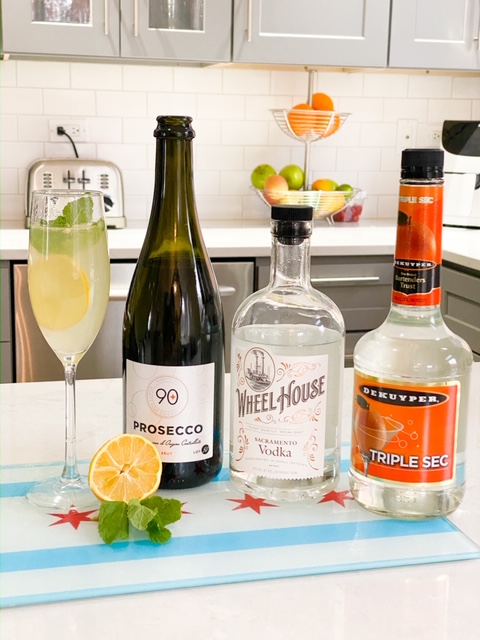
Lastly, my new favorite: The Sparkling Mint

  • 1.5 ounces Wheel House Vodka
  • .75 ounces Triple Sec
  • .75 ounces lemon juice
  • 2 mint sprigs
  • Add vodka, triple sec, lemon juice and mint into a mixing glass and muddle. Shake over ice then strain in a champagne glass
  • Top off with Prosecco

Spirit Hub is hosting virtual Happy Hours every Tuesday and Thursday with different distiller partners via Zoom. You can find more information by following them on Instagram

Enjoy these fun cocktails and I’ll be back sharing more with my next delivery from Spirit Hub!

How I Make 5 Streams of Income Online Working From Home

Hi friends! This topic is out of my norm for this blog, but in light of these times, I thought it would be helpful to share all the ways I make money online. Some of these suggestions are for fast easy money (think a few hundred dollars-ish) and others are for short and long-term supplemental income.

Cash Back Sites

Rakuten I started with this because it’s a way to save money on purchases and it’s always nice to get your check at the end of the year from all your savings. Rakuten is a website that partners with 1000s of vendors to give you discounts and help drive more traffic to these sites. When you create an account you download an extension for your internet browser so every site you go to, if they are a partner with Rakuten, you receive a pop-up showing your additional savings. The majority of people shop online so why not get cashback? Rakuten partners with most mainstream sites so that’s why I use their site over others. They are also partners with travel sites like Expedia, etc., which I use frequently! I can’t wait to get my cash at the end of the year!

Virtual E-Commerce Business

Rodan + Fields I’m using this example next because it is by far where most of my income comes from (and always has – even in the beginning) because it’s residual income. Now, remember this story is my story. There are 1000s who make more than me and there are 1000s who don’t make as much as me. Your output really depends on your input. When I joined R+F we only had five products, we didn’t have near as many resources, and we were still under the dark cloud of people grouping us with “scam” companies. Now we are a respected brand, have a full product line and all the resources we need.

How we are different is really why I was comfortable attaching my name to this brand. There are some really great companies (and some really bad ones) in Network Marketing but I chose R+F because we are the only brand that was very successful in traditional retail first (think Nordstrom). We were (and they still have a small stake) owned by Esteé Lauder. We left retail because online businesses were showing much more growth for the long term. Our products are clinically tested by third parties. We have been the #1 brand for years, yet only have 30% market awareness. We are also a global brand which means I can sell across the globe. We were created by the top two dermatologists in the world who’ve been practicing for 30+ years. I mean, if Stanford-trained dermatologists create skincare, that’s the skincare I want to use.

Community. R+F is a community of professional women who have become best friends. Most of my team, there are 400+ of us, are Pharmacists, Realtors, medical professionals, and corporate managers/directors. WE always rally around each other and support each other. There is not enough time in my day to tell you all the stories of how this community has changed my life. I think many women long for a village and to be surrounded by people who support you and your dreams rather than judge and cut you down.

I joined this brand because I wanted to extend my circle outside of just hoteliers and I wanted to get a discount on great skincare. What it turned into was more than I could have imagined. I only wanted an extra $500 a month to help keep me home after my second baby. In my first 8 months, I cleared multiple thousand and it continued to grow into a full-time income surpassing my six-figure corporate income and it has saved us on multiple occasions – coronavirus being one of them. The beauty (and booze) industry statistically always does better in a down economy.

My RF income paid off school loans, helped with a down payment for my house, paid for countless vacations, and so much more. I know people can be close-minded to the direct selling industry. I know people call it a “pyramid scheme” and that’s because they are uneducated about the industry. I’ve never spent more money than I’ve made. I don’t carry inventory. I don’t host home parties. I don’t bother people. I’m not cheesy salesy. I just promote a product that I use and love and when people ask I tell them how I do it. I also didn’t expect to be a millionaire in a month when I joined. I knew this was a job that required work. I was coachable. I never gave up. There is nothing special about me. I didn’t have a large network — that came later from blogging. I started this from ground zero. I know this business isn’t for everyone, but if you want to have a plan B and are open to hearing more, I’m available for text chats and phone calls. I truly believe RF is a gift and if I can help just one person with this post – then that’s enough for me.

That was a long one, but I’m so passionate about what it has done for me and I know it can be a vehicle of change for anyone else too. Moving on.

Online surveys/focus groups

Respondent is a website I heard about on Medium. Respondent is a company that pays you to participate in research studies. Their structure is much different than most online survey sites and apps. Respondent facilitates one-on-one consumer research studies and focus groups, both in-person and online. You can apply for up to three studies every 24 hours. They range from $5 all the way up to $400. I recently did two and made almost $200. The interviews range around 15-30 minutes. Easy money. You can also make referral money to certain studies, etc.

There are also two sites called Userlytics and Usertesting that offer quick 10-15 minute surveys analyzing websites and user-friendliness. These you have to jump on immediately when you get the email because they fill up fast. You make $10 per survey. If you do five of them a week that’s $200 a month! Any extra money is good money, right? Do I need this money? No, but it’s easy money so why not?

Now I’ll get into freelance work

Build a client list. As many of you know I’m a writer and know a lot about social media and marketing. These are talents I use to help small businesses and e-commerce sites. I do a lot of reach-outs directly to businesses to see if they would like help or consultation regarding their content or anything that lies within my expertise. All of you have talents to offer others and trust me, the demand to learn is out there. Even things as easy as setting up a Linkedin profile, typing, educating on using computer programs, knowing another language. The possibilities are endless! You can even offer services as a virtual assistant. I’ve hired assistants from people reaching out to me on Instagram before.

Use a platform to find freelance gigs

If you don’t want to message people or look for specific work yourself, set up an account with Upwork. There are thousands of freelance jobs/projects on there. I know people who make $10k to $100k/+ a year just by picking up these projects. Once you build a profile you can then apply for jobs. The more jobs you get, the more offers you’ll receive as well. I just started using this platform and work it when I have downtime with R+F and loving it so far.

Another website similar to Upwork is Fiveer. A lot of freelance friends swear by this site too and use it for a side-gig or full-time gig income. I just completed a profile and plan to use this as well during free time for extra cash.

Blogging

Blogging is probably the most I get asked about, but y’all, it brings in the least amount of money and the income is not consistent. So why do I continue? Because I love it and I’ve put blood, sweat and tears into it for the last seven years. It’s an outlet. I’m a writer and it’s a platform to get my words out there. Over time (and A LOT OF WORK for YEARS!) it built a following that led to a social media following that led to bigger things like influencer marketing. Creating blog and social media content takes hours upon hours of your day. If you want a hobby and have a lot of time on your hands, then start a blog. If you want to make a business out of your blog – you’ll be in for a grind. You’ll need to build it up for a few years, really pump out valuable content, and post multiple times a day on all social platforms. Once you have a following you can reach out to brands you love and ask for partnerships. You’ll need to make a media kit (Canva has great templates) and send out messages promoting yourself.

When I started I could charge $25-30 per blog post that included two social posts. Now I can charge between $98-$165 per IG post. If they want a blog post along with the social post, I can charge up to $350. This was after 4-5 years of building. Some brands “pay” in products or services too. Some bloggers with larger followings can get up to $4k for brand partnerships. It can be big business, but you have to realize how much work it is. I’m telling you all this because people think bloggers just play on social media all day and attend fun events, but we really are our own little PR firms that handle all the interworkings ourselves. If you have a social following (which could be any following small or big!) you can check to see how much your posts would be worth by adding your handle in this calculator.

Training / Teaching

This is becoming a BIG industry. So many people want to learn about anything and everything. I learned everything I know about social media by using Youtube, Google and signing up for trainings through Udemy and Lynda.

Any skill or hobby you have, someone wants to know what you know. You can upload training and people will pay to watch. Depending on the training you can charge as little as $10 or up to $200+. Promote it through social media ads and now you have a little side cash!

Reselling

This can be a big moneymaker as well but it requires a lot of work. I do this for fun here and there for extra cash. If you don’t follow Gary Vee on IG or his podcast, you should. He provides so much useful information around this business.

Reselling is just taking things you own already or things you find at big discounts and flip them for retail on sites like eBay, Mercari, Postmark, Facebook Marketplace, Shopify, Amazon, etc. Every store on the planet does this. They buy things at wholesale and sell them at retail so why can’t you? I’ve sold thousands online over the last three years.

If you want to go big and you have that entrepreneurial spirit, look into Amazon FBA (which I do). I am just as passionate about this as I am about Rodan+Fields. This is much more of an investment to start but it’s smart and also a great plan B. It’s not residual income but e-commerce is the second-best option. You can also arbitrage resell (more work but I do this also on occasion). There’s lots of free information out there on YouTube but you can also take a class which can be pretty expensive which I think is worth it. I recommend The Amazing Selling Machine courses.

These are all the ways I make money online from home. I’m sure there are other ways out there, but I wanted to share what I do in case this can help any of you through these rough times. Stay safe and healthy. We will get through this!

All You Need To Know About Boyne Mountain Resort

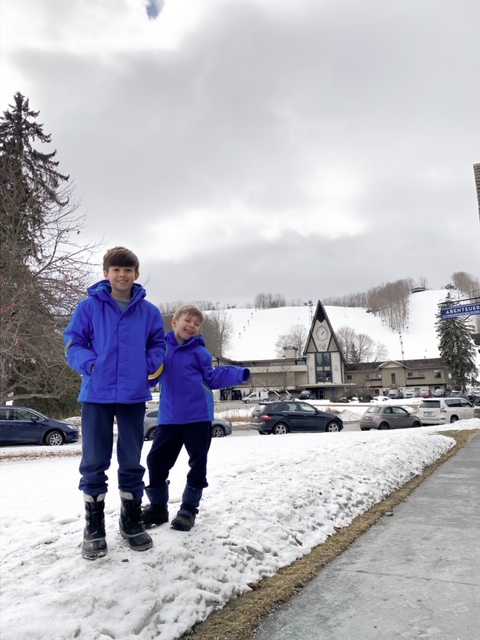
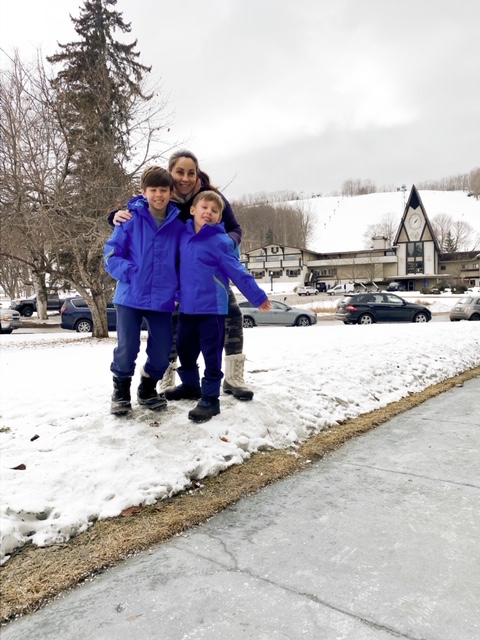
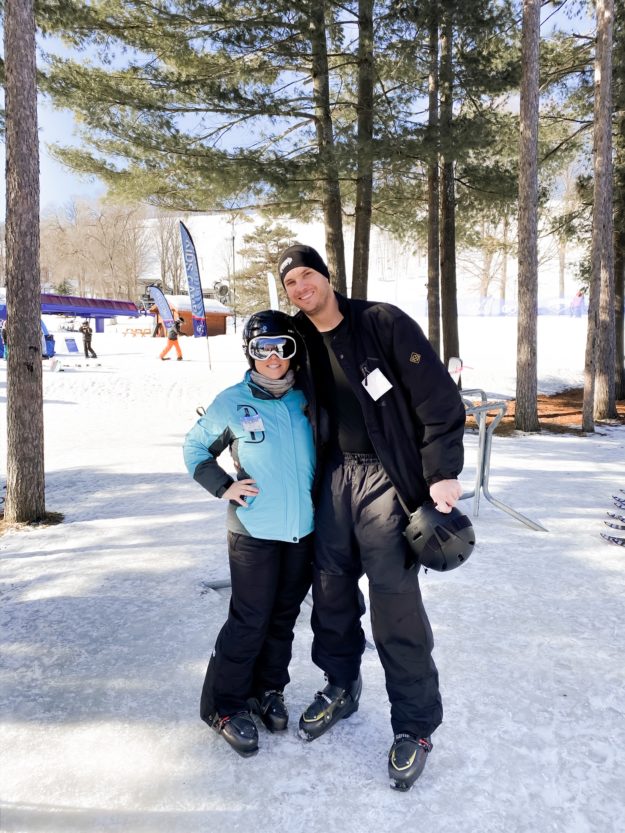
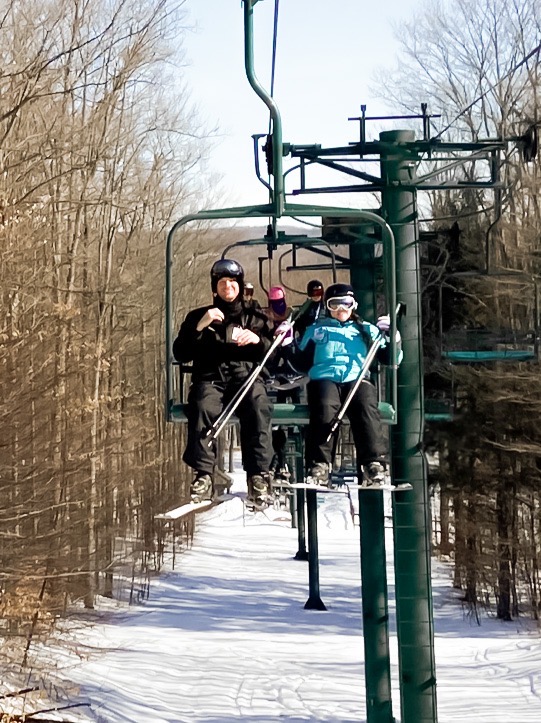
Recently our family wanted to get back into skiing and was looking for a family-friendly ski resort near Chicago. Its been about 20 years since my husband and I skied and we have two young boys who’ve never skied before. When I started my research and asked around our friend circles, one resort continued to come up as the best – Boyne Mountain Resort.

Boyne Mountain is just under 6 hours away from Chicago, it’s located in northern Michigan and it’s a very easy drive. What sold us was all the activities available for the whole family, but before we go into the fun let’s talk about lodging.

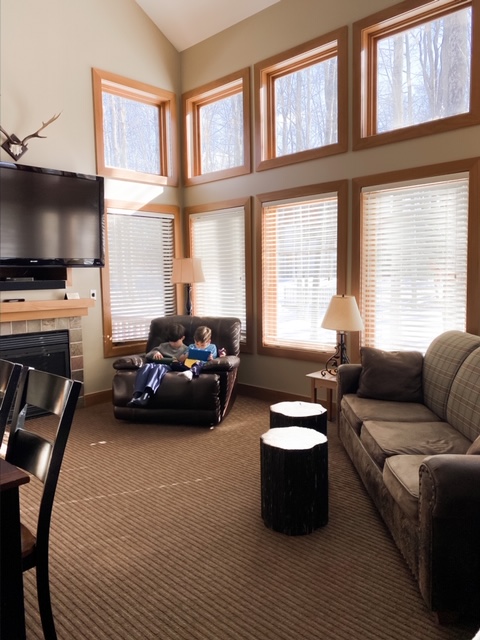
The resort itself has a wide variety of options from condos to villas to cabins, but we decided to check out VRBO to see if we could get a bigger space to fit in our budget. We found a lodge on-site that could accommodate our entire party. We traveled with family friends and there were nine of us total. The lodges on-site were nice and spacious, we could have fit another family in there if needed. Check your options before you book.

As far as the activities go, you need more than a weekend. There is so much to do!

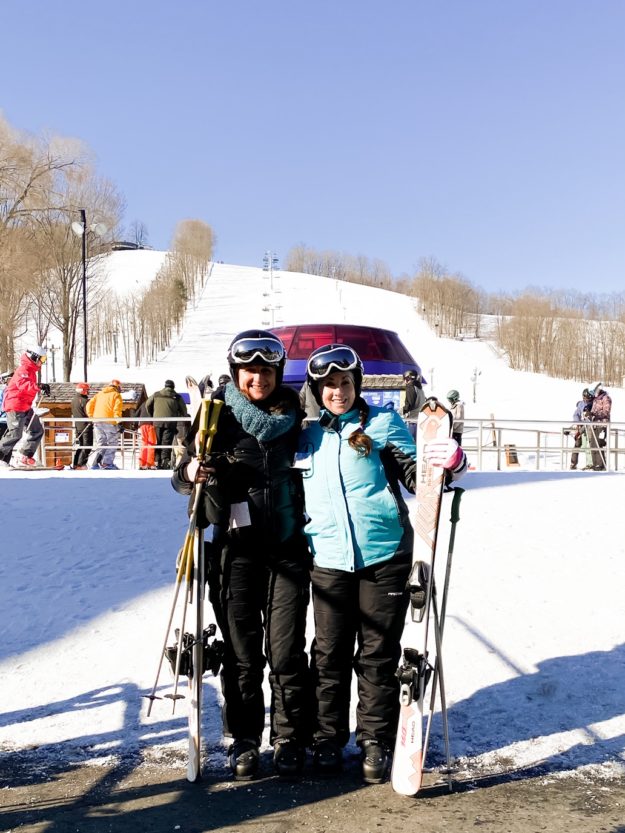
The resort was much larger than I anticipated with 60 runs to chose from at all different levels for skiing. I liked this because you didn’t get bored going down the same runs over and over again. They also had quite a bit of beginner level runs for us to get reacquainted with skiing. The staff was very helpful and the system to check-in and pick up your equipment was like a well-oiled machine. They are very organized, which I appreciated with kids. Parents, you know what I mean! We were in and out in 15 minutes. We rented skis, poles, and helmets.

TIP: Buy your lift tickets before you go! Saves you from waiting in line and you get a discount buying online. You can choose a full-day or half-day. Looking back, I think half-day would have been enough. Prices vary during non-peak/peak days.

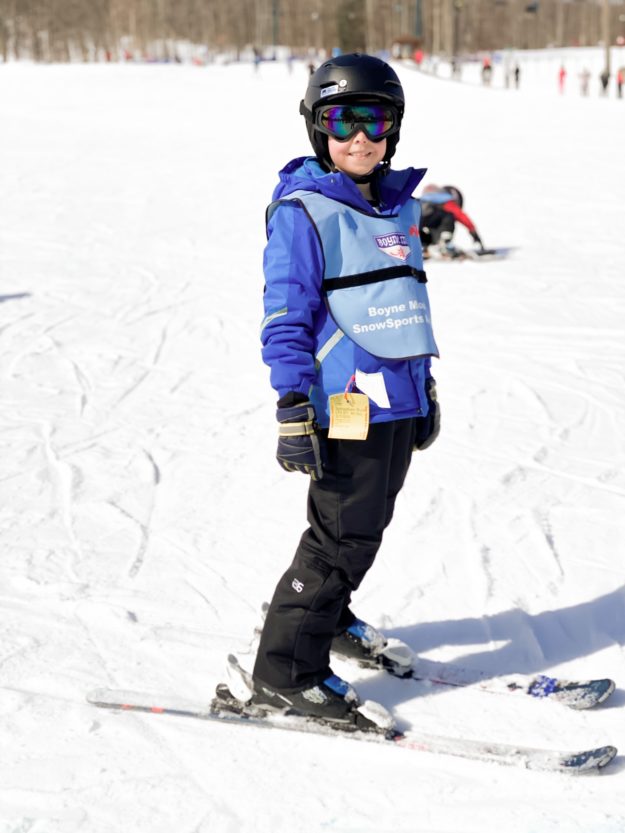
Once we had our gear, we dropped the kids off at ski school at 8:30 am. When booking ski school, you can choose by age level and/or experience level. You can also choose half-day or full-day. Full-day was from 8:30 am to 3:30 pm and lunch was included. The boys had a blast and the instructors were very hands-on. The lift ticket was included and could be used after ski school on the beginner runs if you felt they are ready.
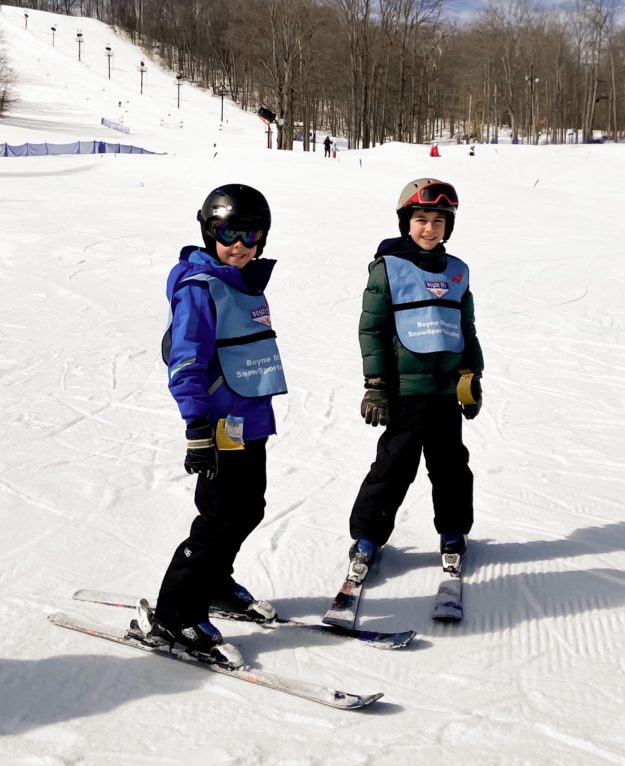
In the morning, the resort was not too busy. I didn’t feel crowded on the runs and we never had to wait for lift rides for longer than a few minutes. The crowds started coming in after lunchtime. At that point, I was ready to call it a day.

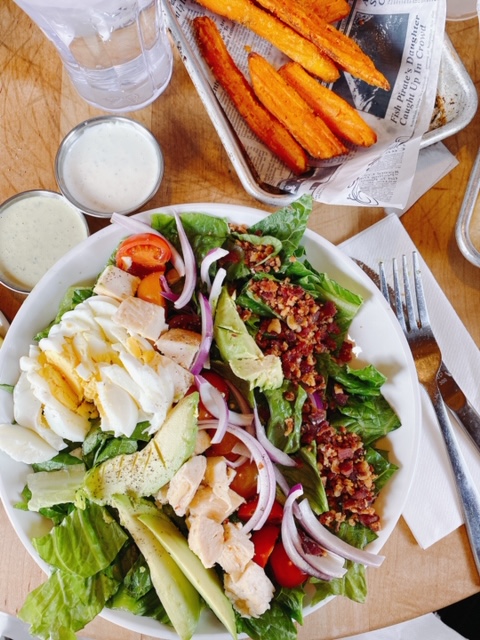
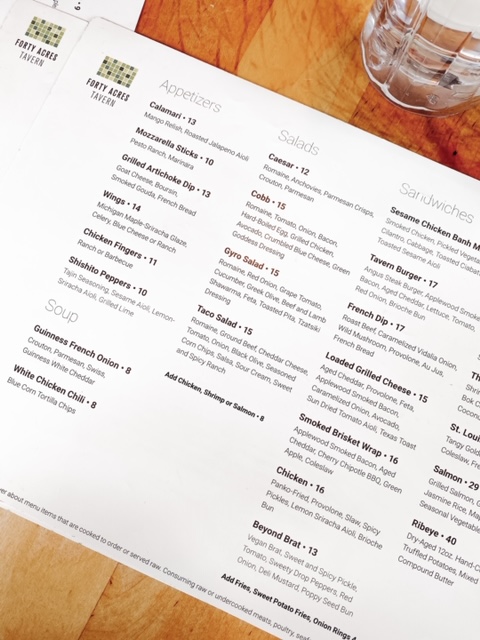
Speaking of lunchtime, there were several meal options to choose from. One day we ate at Forty Acres Tavern which was worth the wait. The food and service were excellent. The second day we took advantage of a taco truck parked next to the slopes – and again delicious! The quality of the food was another present surprise. There were several other dining options around the resort to choose from. If you want to head off property for meals, I highly recommend Red Mesa Grill. It’s only five miles from the resort and was amazing. We will definitely go there next time too.
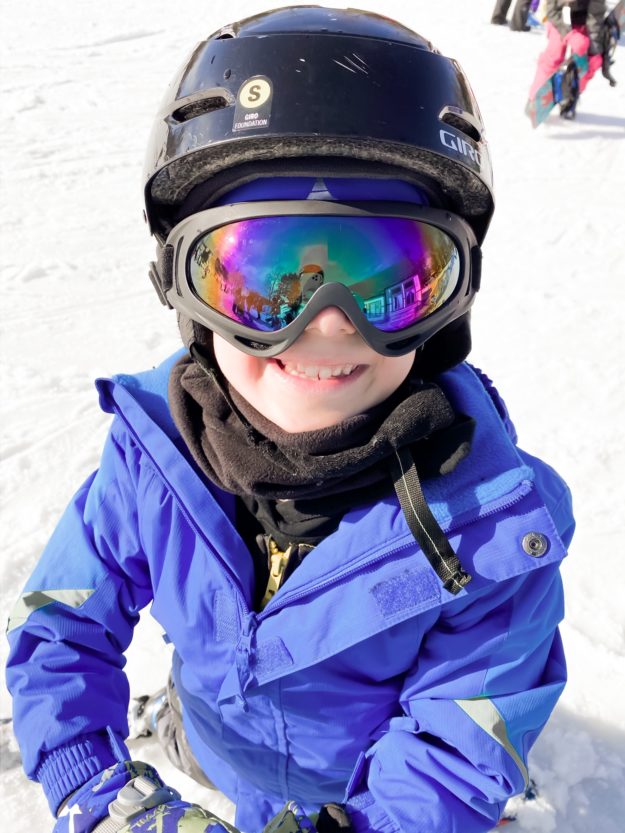
One of my favorite things about the resort was the live band entertainment that you could hear even at the top of the mountain. Sitting at the tables outdoors with a beverage listening to the band was my definition of fun. Maybe I’m more of an Aprés skier? Either way, it was a blast!

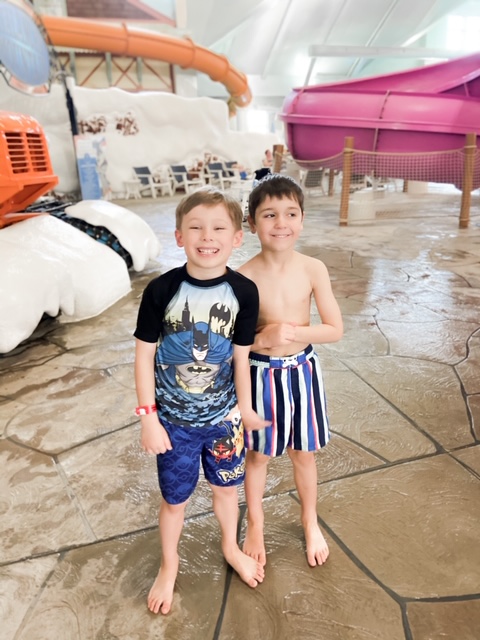
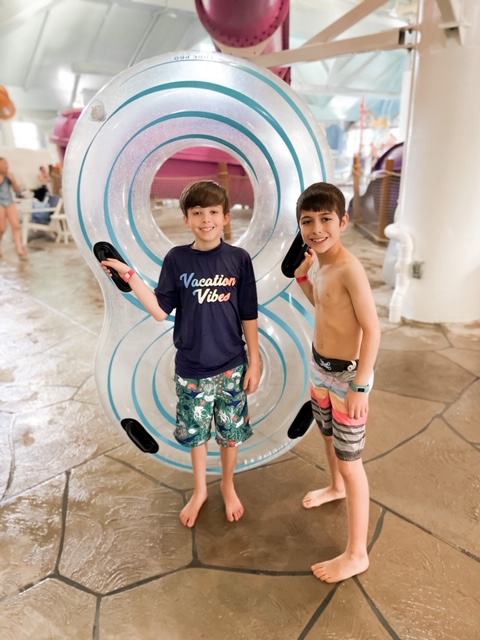
Other activities we took advantage of were going to Avalanche Bay Indoor Water Park. The kids had loved it and there was a great variety of rides for all ages. We also took the kids to the arcade which was conveniently located next to the water park.

Other activities available at the resort were tubing, cross country skiing, Fat Tire Biking, Groomer Rides, Horseback Riding, Ice Skating, Sno-Go Bikes, Ziplining, and Snowshoeing.

Now you know why I said you need more than a weekend. The fun was endless! If you are thinking about a Midwest winter getaway, I highly recommend Boyne Mountain Resort. We are already planning for next year.

Disneyland Hacks And What You Should Know Before You Go

Disneyland and Disney World are magical places, but if you don’t plan before you go and know the hacks – prepare to be very overwhelmed. Once we booked our first trip to Disney, the anxiety immediately set in. Our first Disney experience was Disney World, so when we planned our Disneyland adventure I was ready!

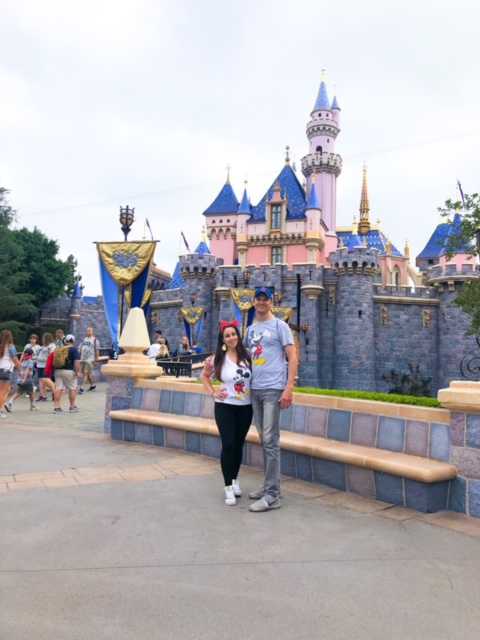
Some big advantages to visiting Disneyland are it’s a smaller property, it’s easy to get to, and it’s much less chaotic than Disney World. Disneyland is also the original mouse house so there’s a special feeling you get when you enter the gates. I already can’t wait to go back!

Before you go here’s what you need to know:

If you’re feeling overwhelmed or just want the convenience of someone planning the trip for you, I highly recommend having an authorized Disney Vacation Planner assist you. We use Dream Maker Melissa! It’s completely free and takes all the guesswork out of your planning. She’s great and I highly recommend her.

Get the App

Whether you enlist someone to help or plan yourself, you first need to download the Disneyland app as you’ll use this throughout your planning stage and visit. The app allows you access to your tickets once you load them, view your agenda, get FastPasses through your phone vs the machines, order food, shop, play games, and shows all the photos you take around the park with Disney photographers. You get free downloads for all your pictures with MaxPass. With the app, you can also check wait times for each ride and use it as a map.

Choose Lodging

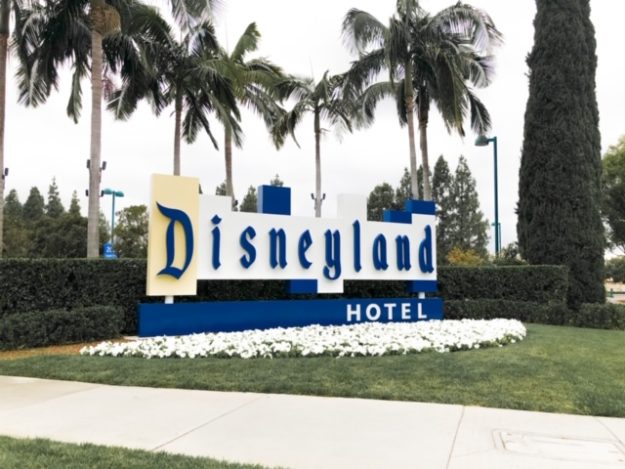
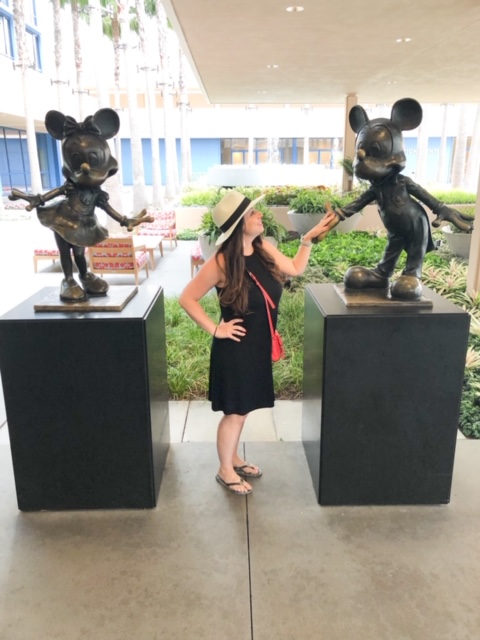
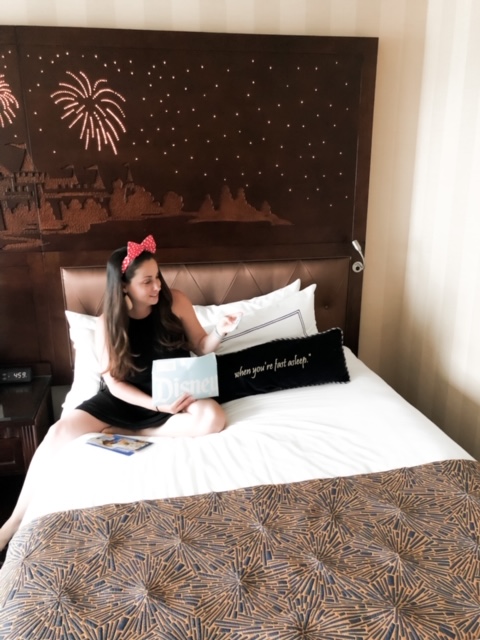
Next, it’s time to plan on where you’ll stay. Because it was our first time to Disneyland as a family we choose to stay at The Disneyland Hotel. This was the original hotel for Disneyland and I loved the nostalgia of it. There are plenty of less expensive options nearby, but we loved the close proximity to the parks (a 5-minute walk), all the Downtown Disney District shops and eateries, the pool area, and the hotel itself. When you book a Disney hotel you get the advantage of getting a magic hour, meaning you get to enter the park an hour earlier than everyone else. This was great for early FastPass access and getting a few rides in before the masses.

Chose Park Tickets

We only had two days at Disney so we bought individual tickets for a one-day pass at both Disneyland and Disney Adventure. We knew this would be enough time for us to enjoy each park. We also went during the week (Tuesday/Wednesday), so it was less busy than the weekend.

If you are going during a peak time, there for more than two days, or have older kids that can last all day at the parks, I highly recommend buying a hopper ticket. This ticket allows you to bounce back and forth between Disneyland and Disney Adventure. They are across from each other, so very quick to walk from one park to another. Disneyland is open later than Disney Adventure Park, so with the hopper pass, you can get in all your rides at Disney Adventure than still have a lot of time to explore more of Disneyland. Disney Adventure is a smaller park and usually less crowded as well.

Ticket prices vary depending on what you want and how many days you are there, but if you go through third-party vendors sometimes you can get deals.

Max Pass / Fast Pass

When you decide on your park ticket, you’ll want to add MaxPass. It is SO worth it and runs $15 per person. MaxPass allows you to get FastPasses through your phone versus having to use the machines. As soon as you enter the park you can choose a FastPass, then once you scan that fast pass you can choose your next ride while in line. This system is much easier than Disneyworld and you get a lot more FastPasses to use. Side note – you want to look at rides ahead of time to check height requirements and chose which ones are your must-rides. This will help you make the most of your day in the magic land.

Ride Selections

The most popular rides that you’ll want to get FastPass for at Disneyland:

Star wars (tip – gets less busy later in the afternoon), Indiana Jones, Bobsleds, Splash Mountain, Big Thunder Railroad, Peter Pan Takes Flight and some classics like Pirates of the Caribbean. You can also use FastPass for the light show, Fantasmic. You can purchase dinner packages that include VIP seats for the light show, too. We bought a dinner package in both parks for the reserved seating. In Disneyland, we ate at the restaurant which was located inside the Pirates of the Caribbean ride. It was so cool! They gave us souvenir seat cushions to use on the ground when watching the light show too.

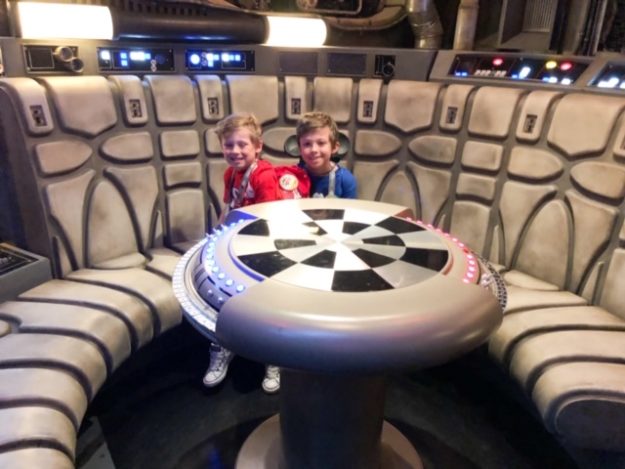
The new Star Wars World is insane! You feel like you’re on the movie set.

Rides you’ll love at California Adventure:

Incredicoaster, Guardians of the Galaxy, Toy Story Mania, Radiator Springs Racers (my fave!), and World of Color the light show.

Family Hacks

If you’re traveling with toddlers or even pre-teens, bring or rent a stroller. My youngest was five and the oldest was eight and we rented a double stroller. It gave them a break from walking, held our items and gave me something to lean on when I got tired. The rental is $13 for the day and definitely worth it. Carrying a kid around all day is not fun – get the stroller.

Bring your own snacks and water bottle! Disney allows you to bring in snacks and beverages (non-alcoholic). We each had a little drawstring backpack I bought from Etsy filled with bottled water and several snacks. The bags also allowed for a few souvenirs. The boys loved these bags, they were light and comfortable and it saves mom from carrying everything. Am I right?!

Buy your swag before you go. You can find family shirts and all kinds of Disney swag on Etsy or Amazon. Save your money at the parks.

Use your app to order food. They let you know when it’s ready so you can avoid lines. The options were good and less expensive. If you want to sit down and enjoy more selections, head out of the park and find an eatery in Disneyland District. There were so many options and the food was way better.

Use rider swap. If you have a little one that doesn’t meet the height requirement, Disney allows you to wait while one parent goes and then you are able to get on right away once the other parent returns. We would also use FastPasses for our little one, then let my older son use it with the other parent so both of us got to enjoy the ride.

Wear comfortable shoes with support. Each day at Disney we walked a minimum of 20,000 steps. You will be miserable if you’re not comfortable. Also, bring a sweater or coat. It gets cold at night and even with our light sweaters on in the evening, it was chilly.

Before You Leave

Stay for the fireworks! They are worth it and magical. Catch the parades or special events. We went during the holidays and bought the additional tickets for the parade and dessert bar. If you’re not a firework person, head to the rides as you’ll find shorter lines.

Don’t forget to stop at all the shops in Disneyland District. They even have a pop-up Mickey Museum!

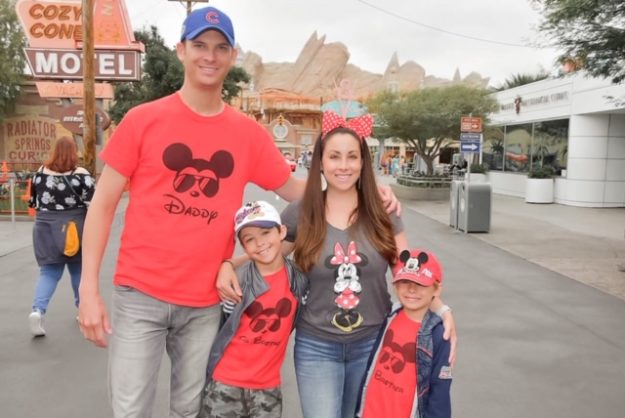
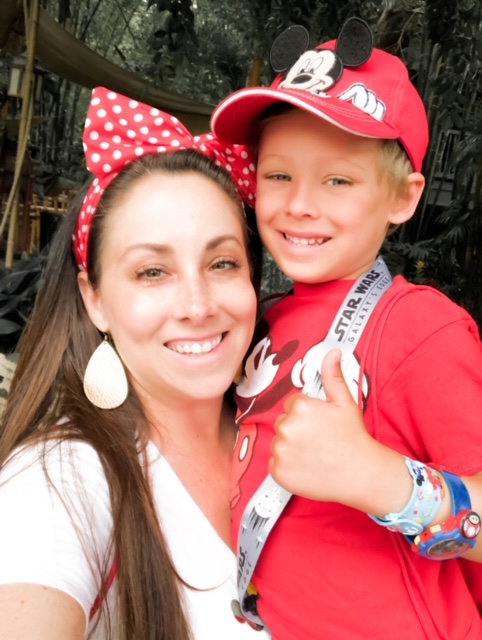
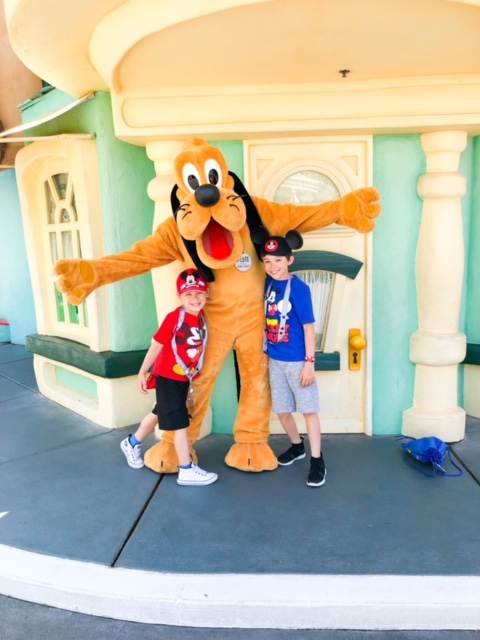
Lastly, take it all in! The magic is real and the look you see on your kids’ faces is priceless. See the magic below.

Enjoy your Disney adventure and share any tips below!

Living The High Life in LA – A Travel Guide

I haven’t been to Los Angeles in a good fifteen years so when we added LA to our west coast adventure, I was thrilled to head back. Palm trees, perfect weather, an ocean breeze, and hiking – what more could you want? We only had three days there so we had to squeeze in as much as possible. Any of these recommendations are great for kids too if you’re traveling as a family.

OUE Sky Space.

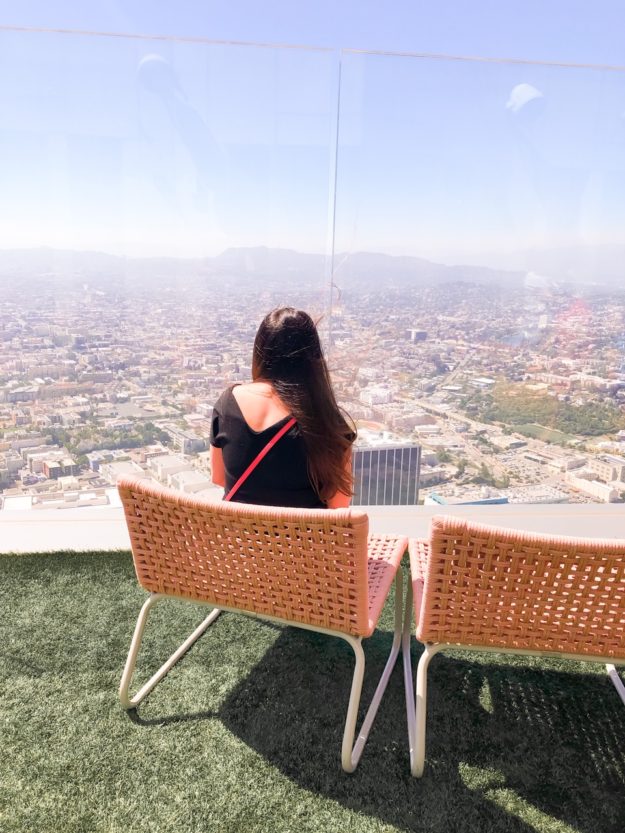
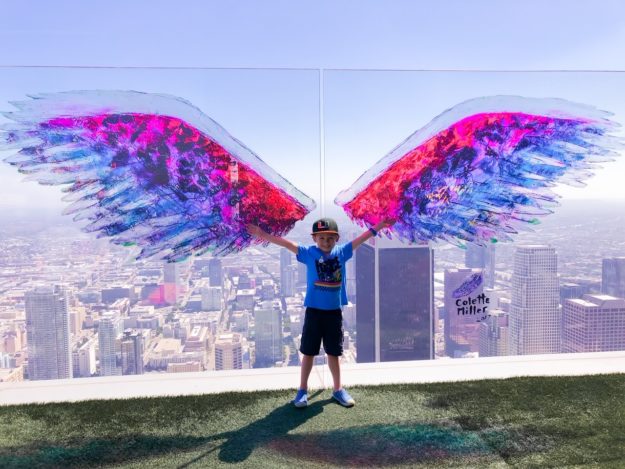
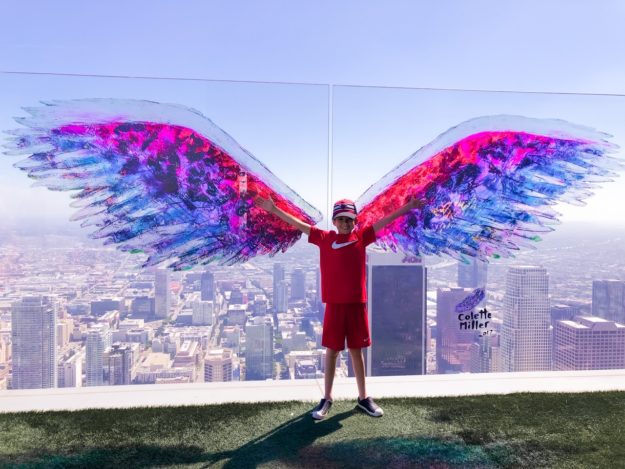
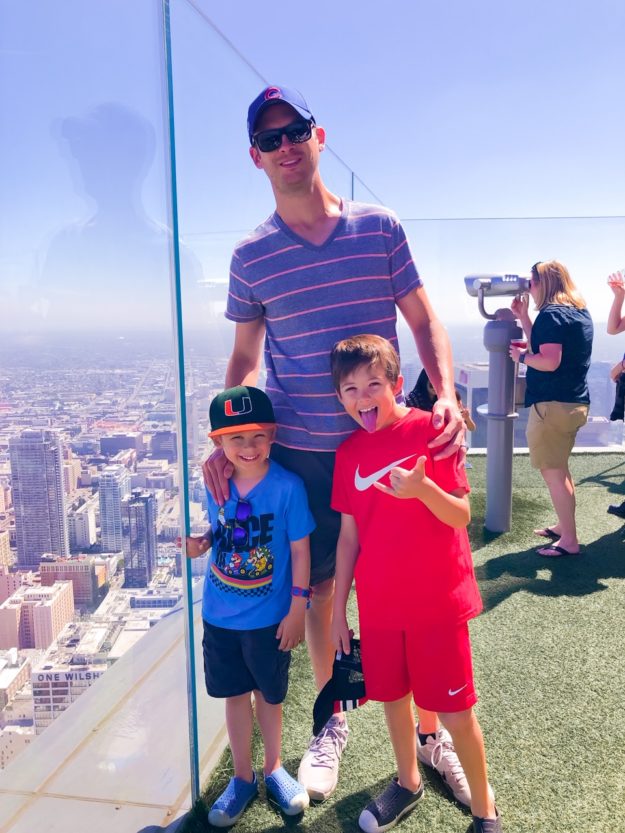
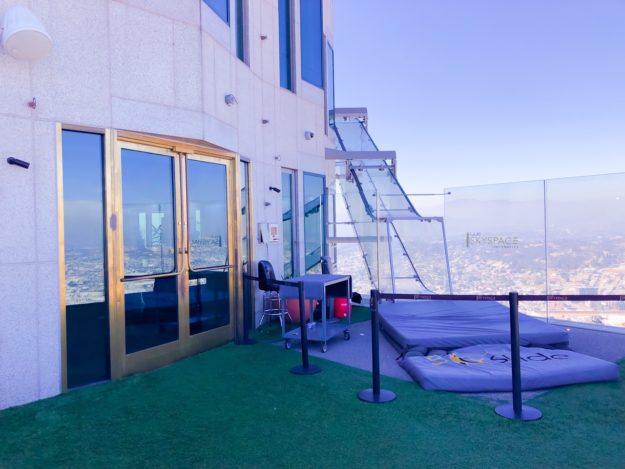
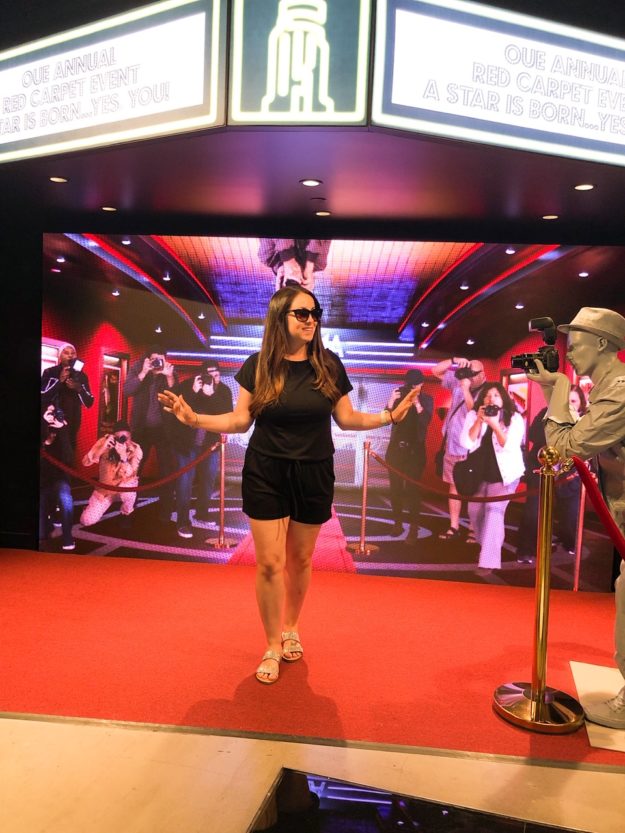
Once we arrived we headed to the OUE Sky Deck and it was so much more than I expected. OUE features unparalleled 360° views from California’s tallest open-air observation terraces where you can see iconic landmarks such as the Hollywood Sign and Capitol Records. You also get a bird’s eye view of Dodger Stadium and can see as far out as the Santa Monica Pier. On your journey to the top, you walk through an interactive space filled with Los Angles history, fun facts, and displays of artist’s work. My favorite space was standing in front of a screen with a red carpet and paparazzi jump out to take your picture to give you the true Hollywood experience. If you’re feeling adventurous, check out the Skyslide! This slide sends you sailing down to the floor below on a small carpet in a glass encapsulation. It’s a separate charge but totally worth it. If you’re headed to LA, make sure to add this to your list.

Griffith Observatory

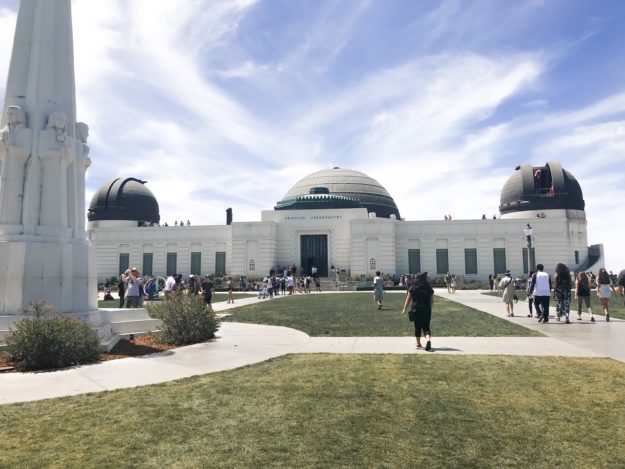
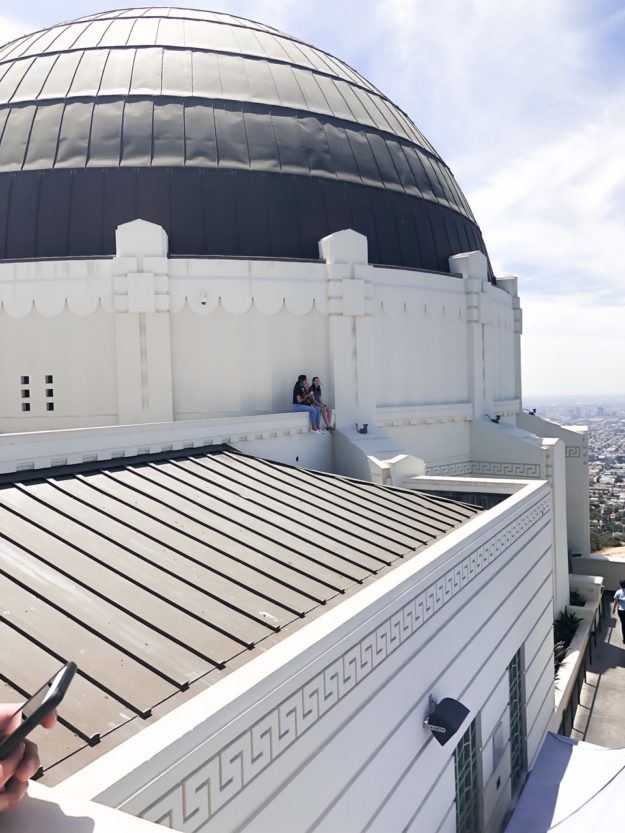
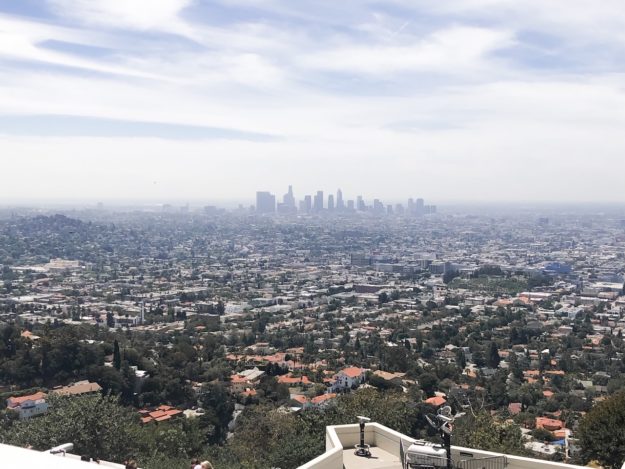
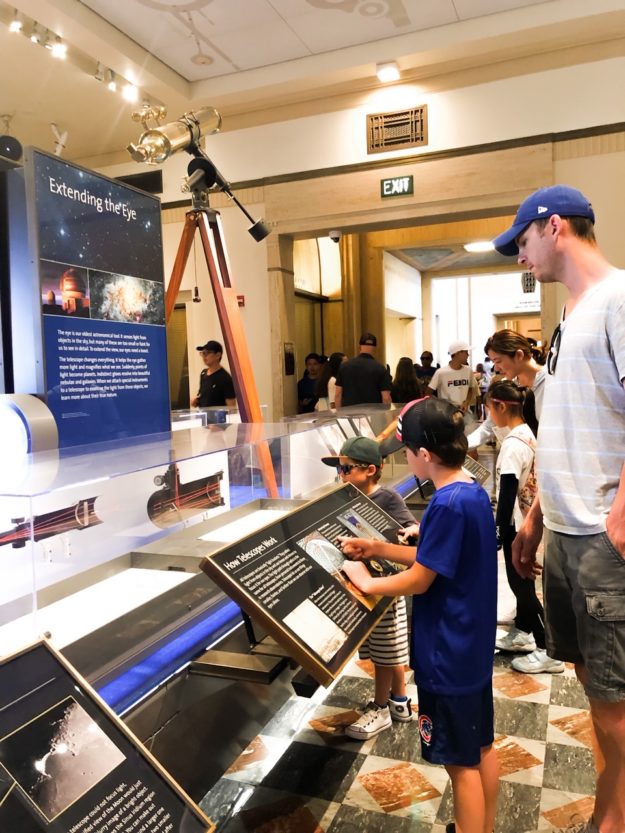
Another must. Griffith Observatory is Southern California’s gateway to the cosmos! Visitors can look through telescopes, explore exhibits, see live shows in the Samuel Oschin Planetarium, and enjoy spectacular views of Los Angeles and the Hollywood Sign. We went during the day, but I bet it is even more magnificent at night. There is parking up at the top, however, it fills very quickly. I recommend getting there early if you want to get those prime spots. Otherwise, there are parking spots all up the mountain. Once you get to the top, I recommend strolling throughout the museum and going to the top of the observatory. You can also have a picnic on the front lawn. Before you leave don’t forget to take a picture featuring the Hollywood sign behind you. You have great views of the sign from many areas of the property, but the best is on the north side by the outdoor restrooms.

Hollywood Sign

Speaking of the Hollywood Sign, there are so many great areas to get the perfect photo. You can head up to Runyon Canyon for a hike and get a great view there, you might even spot some celebs. Another spot to get a great picture of the Hollywood Sign is from the 3rd floor of the Highland Shopping Center on Hollywood BLVD. If you want an Instagram worthy shot then head over to 5th Street and S. Windsor BLVD. On a clear day, the Hollywood Sign will be your perfect backdrop. There was smog when I was there so my picture didn’t turn out clear, but still a beautiful shot! If you enlarge it you can barely see the sign.

Pop-Up Museums

There were two places I wanted to go but unfortunately, we didn’t have the time. The Museum of Illusions and The Museum of Selfies came highly recommended. You can’t NOT have fun at a pop-up museum!

Los Angeles Museum of Art

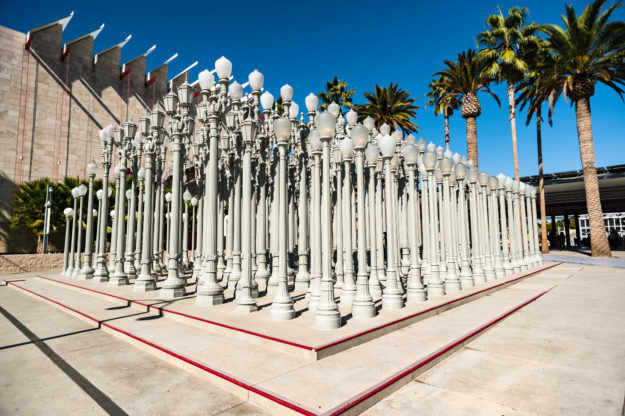
Another spot on my list to visit was the largest museum in the west. The LACMA has an installation called Urban Light and it’s a sight to see. Composed of 202 historic streetlamps dating from the 1920s and 1930s originally spread throughout Southern California, the large-scale sculpture, the Gordon Family Foundation’s gift to Transformation: The LACMA Campaign, has become ubiquitous as the face of LACMA, a point of pride for many Angelenos, and a destination for visitors from around the world. 

Walt Disney Concert Hall

Even if you can’t catch a show here at least drive by to check out the architecture and snap some pics. It’s breathtaking.

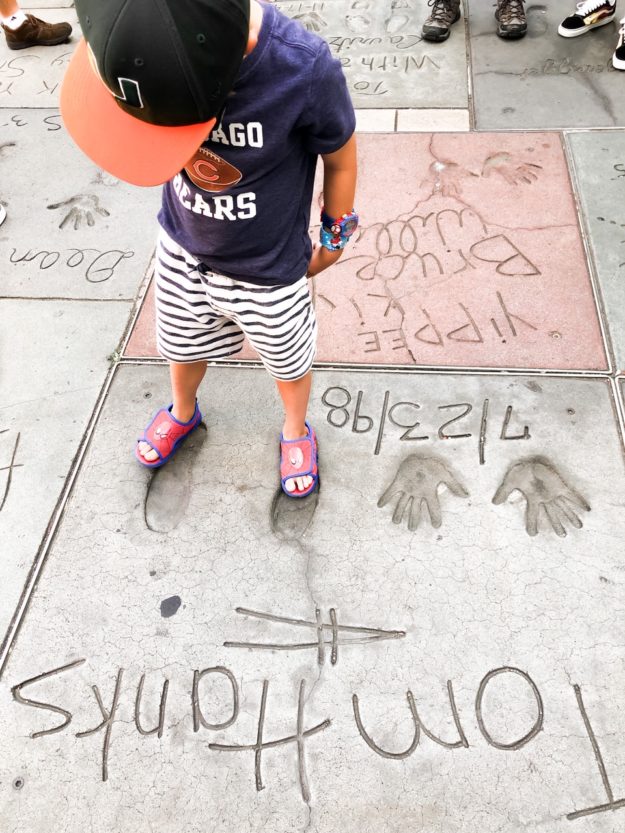
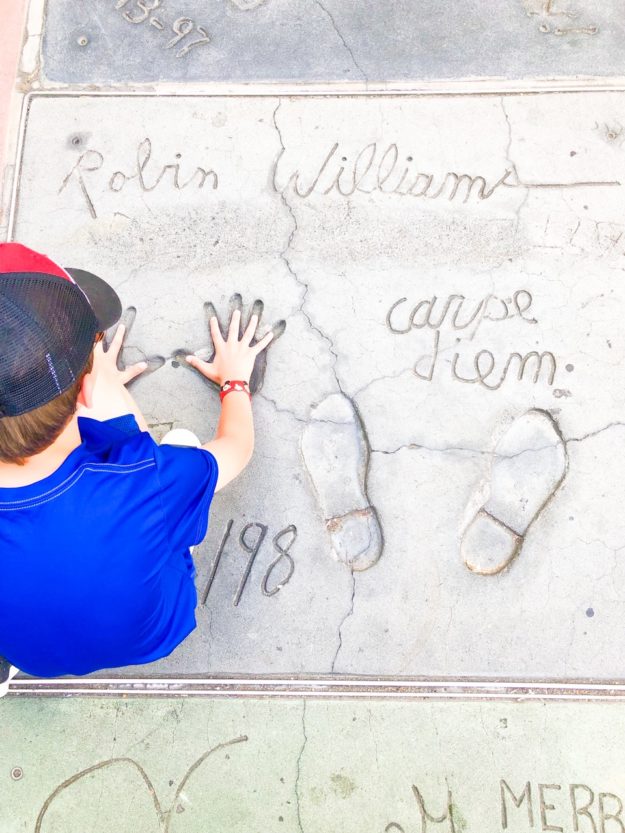
Walk Of Fame and the TCL Chinese Theatre

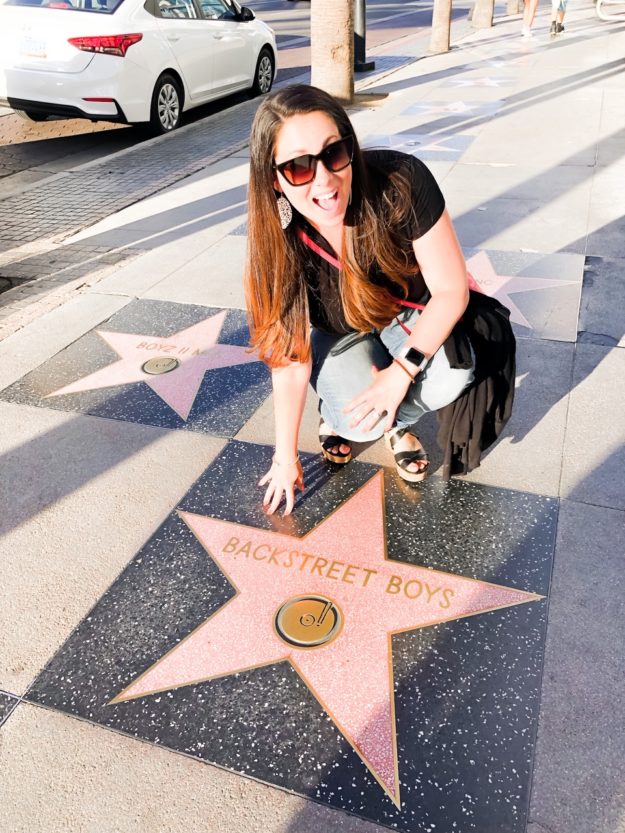
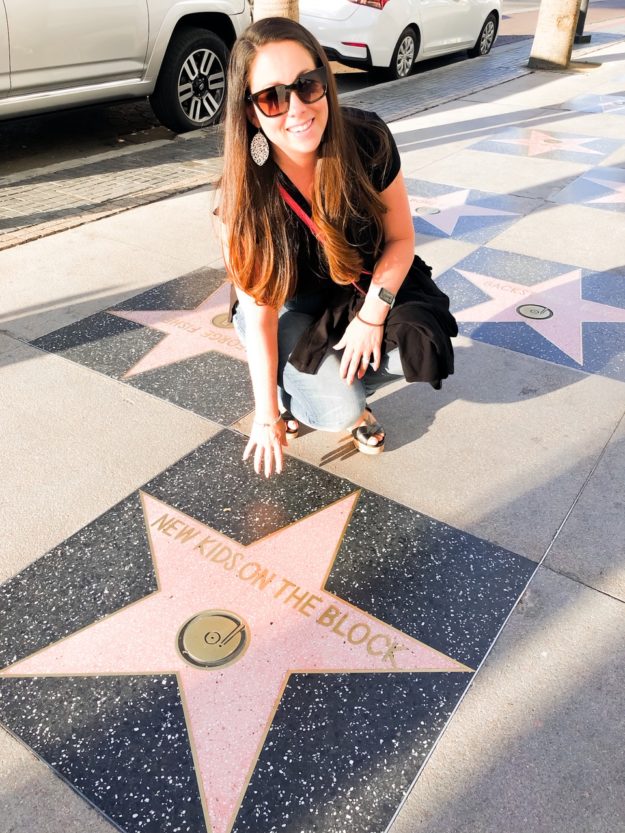
Both very touristy spots but worth it if you haven’t been before. It’s similar to Time Square where there’s a ton of people, it smells, and it’s complete chaos with street vendors and people trying to sell you stuff. My advice is to find the stars you want to see on the walk of fame, check those out, and skip the rest. Walking through the TCL Chinese Theatre is fun, historic and worth it if you move through it fast during a downtime.

We were with the kids so we didn’t get to experience too many nice restaurants but we did get a chance to go to Yamashiro. Not only do you get incredible scenic views here but the food is incredible! We had a few celebrity sightings, too. I read it is a popular place for celebs. I don’t really care about celeb sightings, but it was cool to see Russell Brand and Nick Cannon there. We also had an incredible brunch at Blue Jam.
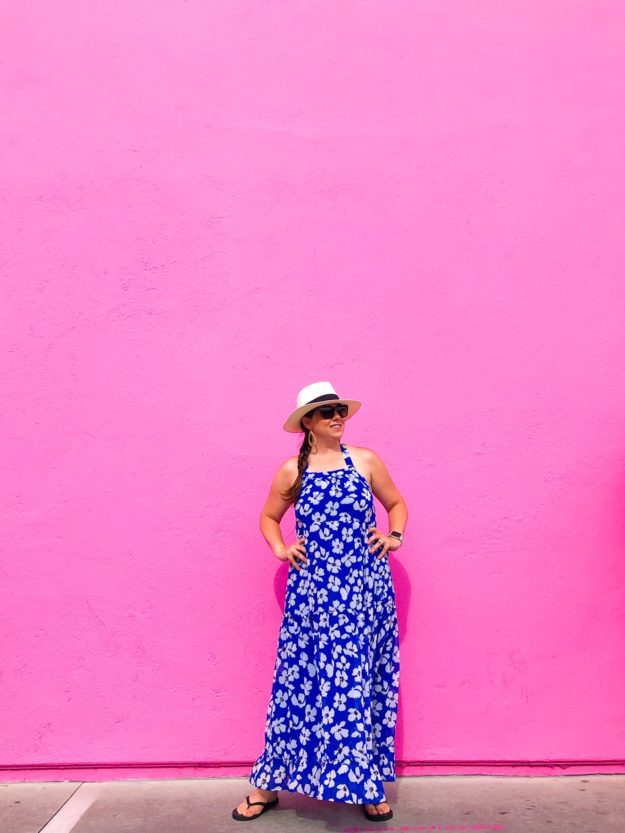
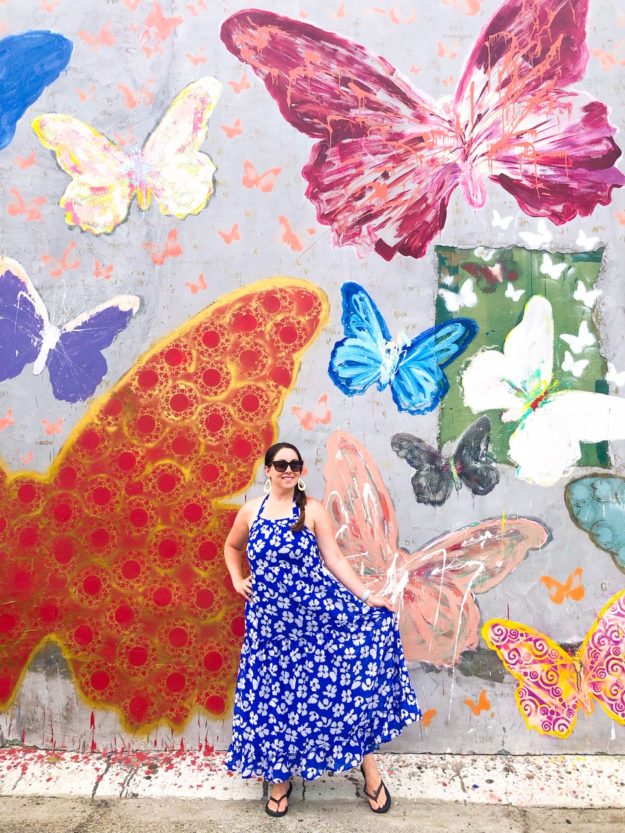
If you’re an Instagrammer, two spots you have to check out are The Pink Wall and The Dream Butterfly Wall for some photo ops!

Santa Monica

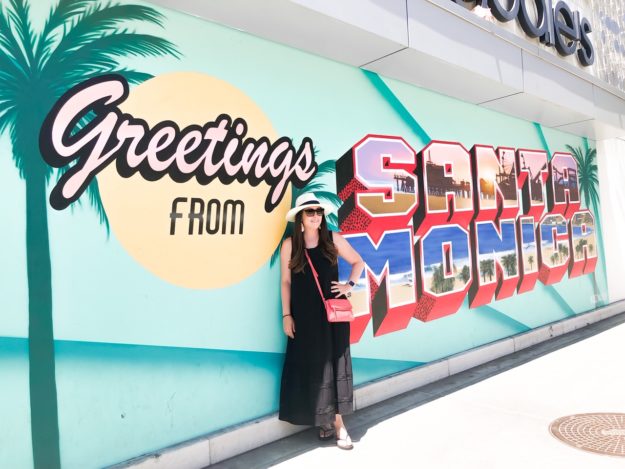
If you want to head to the beach or see another beautiful area north of LA, head to Santa Monica and Malibu. We stayed in Santa Monica one night to stroll the Promenade Shops and have a beach day. The Santa Monica Pier is fun to see but it gets insanely busy with some interesting people, so I would plant too much time there. The Beach was clean and not that crowded. Across from the beach, there were a ton of awesome restaurants to visit. I advise making reservations anywhere you go. A little further North is Malibu and equally as beautiful and less busy.

I hope this Los Angeles travel guide helps with your future travels. Feel free to share your top spots below!

Vegas Off The Strip – A Travel Guide

When people think of Vegas they think glitz, glam, gambling, night clubs, food, and fun. Vegas definitely is a fun place to be, and wait for it – even with kids! Gasp. I know. I know. I said it and it’s true. My family recently did a west coast adventure over the span of two weeks and we had a stopover in Vegas. When planning this trip I had to find some alternative things to do and was surprised at how many activities we could do outside of the Vegas Strip. We had a blast and it ended up being a favorite stop on our trip.

Here are the must-dos off the strip when in Vegas.

Hoover Dam

This may be the nerd in me, but combine architecture, engineering, and history – I’m sold! The Hoover Dam has always been on my list of places I wanted to see and let me tell you, it’s magnificent!

There’s a couple of ways to enjoy the Hoover Dam. You can not see it from the highway anymore as they built a pedestrian bridge blocking the view. You can park on either side of the dam for free to walk the pedestrian bridge. There is free parking on the Arizona side if you want to walk the dam, take a tour, or visit the gift shop. Parking on the Nevada side is $10. You have to go through checkpoints on either side to enter the property.
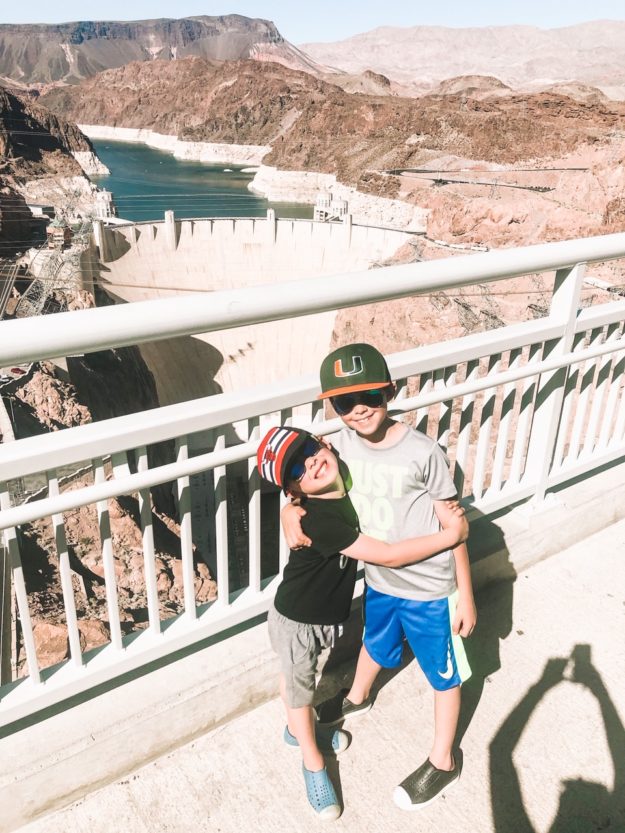
If you just want to walk the bridge it’s a great way to catch an aerial view of the dam. There are stairs and accessible paths to walk up to the bridge too. There are also portable restrooms in the parking lot. I recommend you do not go without water, especially if in the warmer months. We were there in summer and it was dangerously hot – like you feel like the sun is sitting on your shoulders hot. If you don’t stay hydrated you could put yourself at serious risk. There are warning signs everywhere on the path to make sure you have water.

If you want a tour you can do a guided or self-guided. Guided tours will run you about $30, non-guided only $10. If you have the time, I highly recommend a guided tour and walking the bridge. Hoover Dam is only a 42-minute drive from Las Vegas.

Our next stop, The Neon Museum.

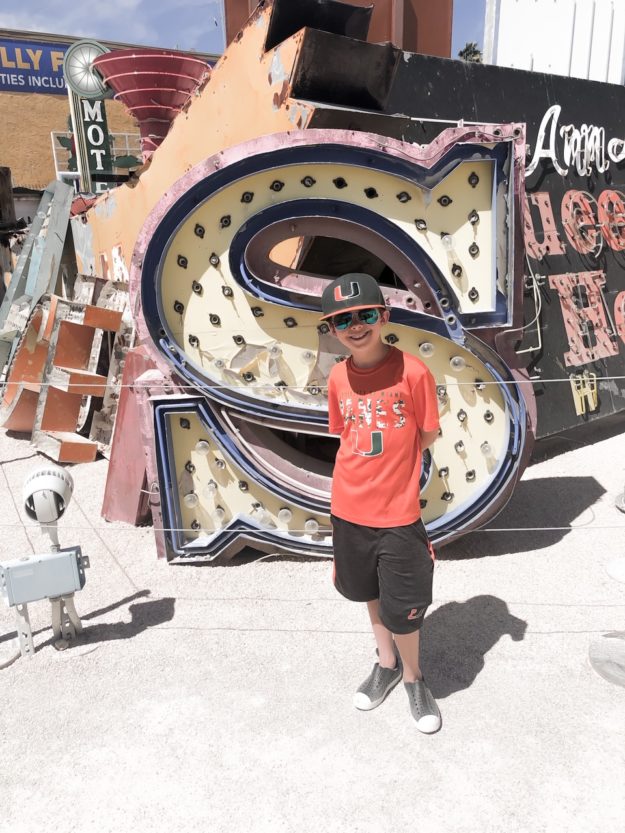
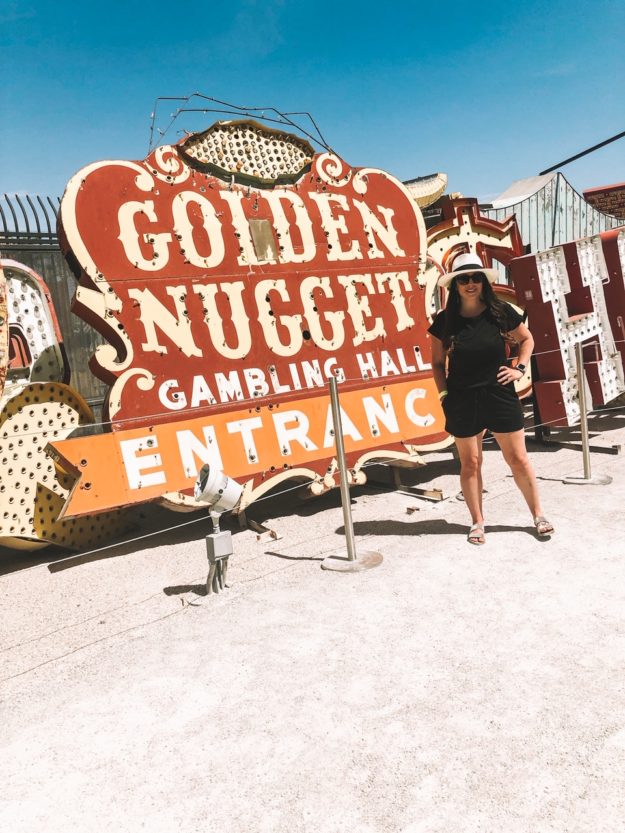
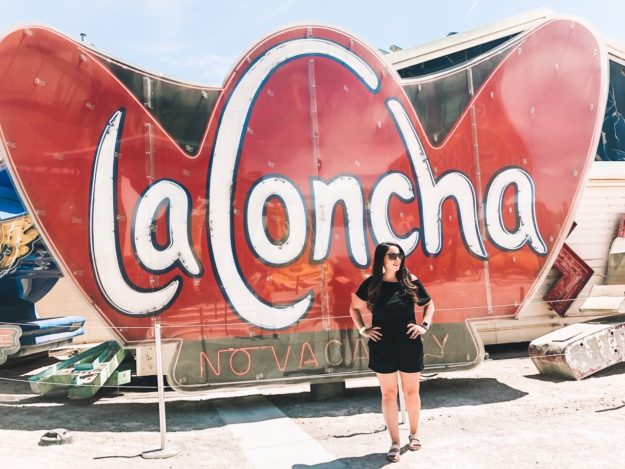
This gem showcases the history of Las Vegas through neon. The museum was founded in the late 90s and preserves iconic Vegas hotel and casino signs. The museum has grown so much they recently had to purchase more surrounding land to hold their growing collection. As you walk through the rows of signage employees are around to give you background information and fun facts about the signs. The whole museum might take you about an hour to walk through.

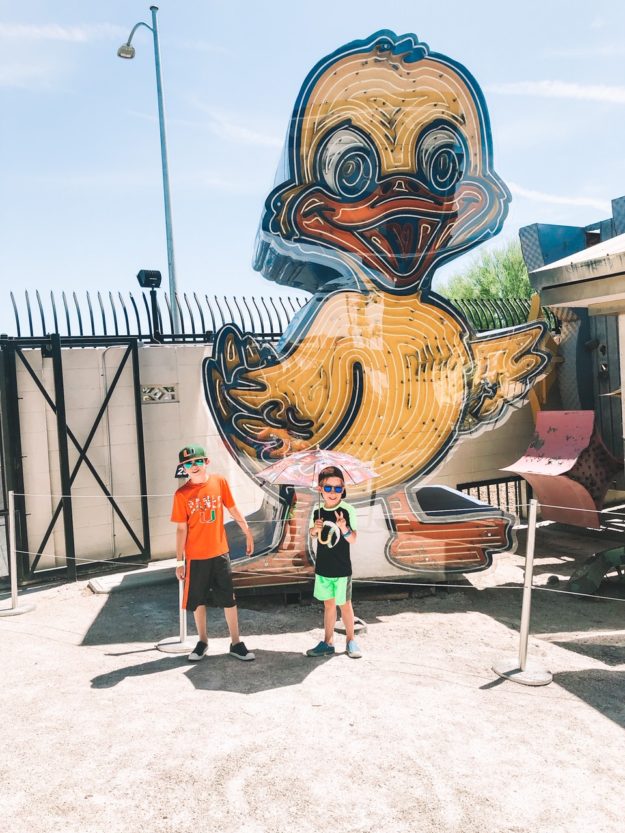
The museum is located not far from the strip so easy to Uber or drive to. I will warn you of the heat. I mean, Vegas is in the desert and it’s always hot, but the employees warn you of extra heat radiating off the metal of the signs. It was HOT. Luckily they give you a sun umbrella and have bottled waters on hand. The Neon Museum is definitely a must-see.

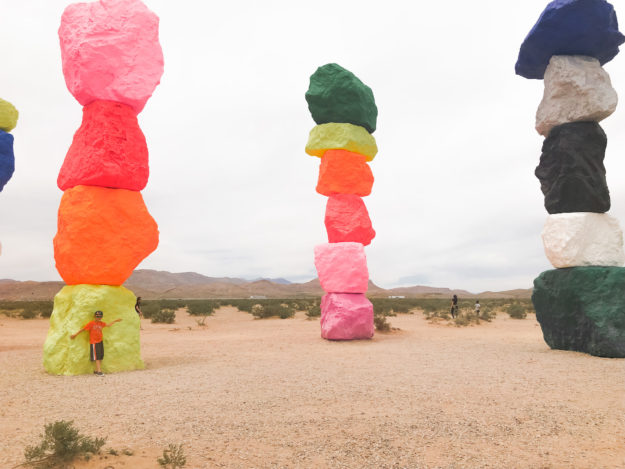
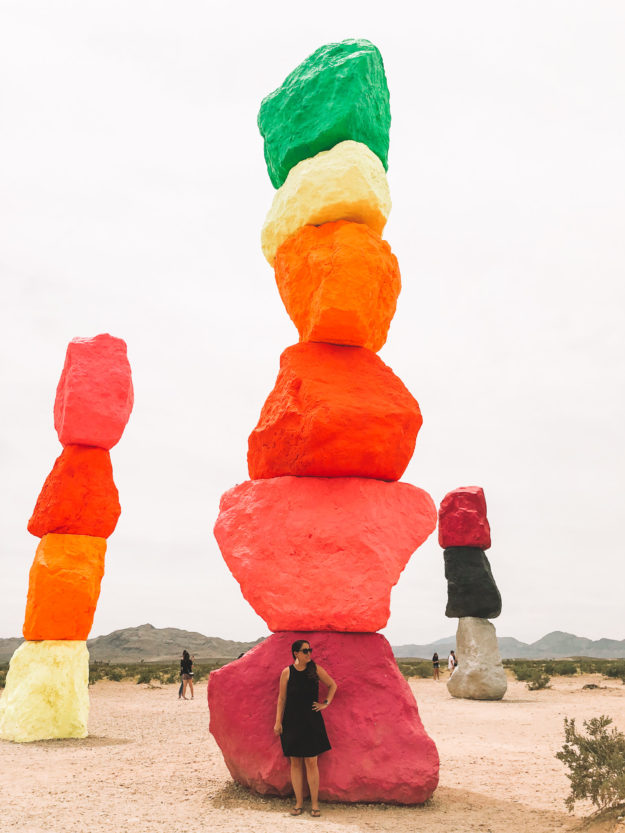
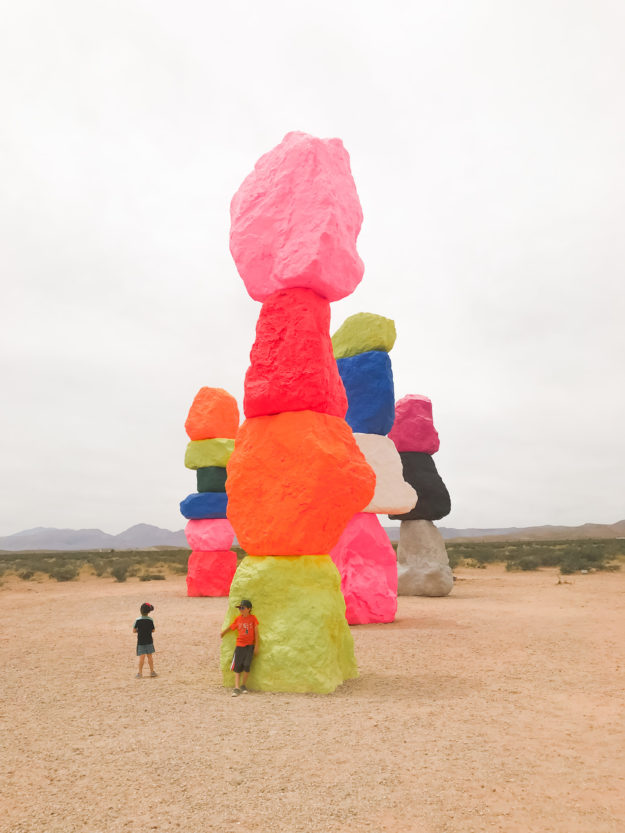
Our last stop was a beautiful sight in the middle of the desert, Seven Magic Mountains.

From their site: Internationally renowned Swiss artist Ugo Rondinone’s Seven Magic Mountains is a large-scale site-specific public art installation located near Jean Dry Lake and Interstate 15, approximately ten miles south of Las Vegas, Nevada. Comprised of seven towers of colorful, stacked boulders standing more than thirty feet high, Seven Magic Mountains is situated within the Ivanpah Valley adjacent to Sheep Mountain and the McCullough, Bird Spring, and Goodsprings ranges of mountains. A creative expression of human presence in the desert, Seven Magic Mountains punctuates the Mojave with a poetic burst of form and color.

Next to the large scale boulders, there was a small pebble replica by the parking lot which I thought was so cute! We only spent about 30 minutes there as we were on our way to Los Angeles, but I’m so glad we made the stop. The kids loved it and we got to take some pretty awesome pictures.

Aside from these, there were several kid parks near the strip, a town center, the iconic “Welcome to Las Vegas” sign, and my all-time favorite west coast destination: In & Out Burger. What are your fave Vegas spots?

Holiday Fun In Chicago

Chicago is such a great city with endless things to do in every season. There are almost too many things to do so it makes it hard to choose! I put together a list of some of my faves and new events to make your season bright (and fun!)

First, we will start with family outings.

Santa outings are always a must in December and there are some great Santas out there.

Macy’s Santaland on State Street. Not only is Macy’s (Marshall Fields, I still call it!) gorgeous inside with holiday decor and adorned windows, but Santaland really feels like you’re walking through Santa’s Elves’ workshop as you wait in line for your picture with Santa. Santaland is free and picture packages start at $17.99. You can also make reservations to dine with Santa, there are several dates to choose from and ticket prices are $25 and under.

900 North Shops Hands down one of the most real looking Santas out there. He makes me believe! Open now through December 24th.

Santa Suite at Swissotel Chicago. According to their website: Opening Dec. 7th, the Presidential Suite is transformed into a stunningly whimsical display, only suitable for a visit from Mr. Claus. This over-the-top space is decorated in the spirit and magic of the season, complete with fifteen Christmas trees, a table set for Santa and his special guests along with snacks and giveaways to spread good cheer. Tickets for Santa Days went on sale on October 1st. For more information or to buy tickets, click here. We are headed there this weekend!

 Image provided by Glitter and Bubbles + Hallie Duesenberg

Zoo Lights Presented by ComEd at Lincoln Park Zoo. A yearly family tradition for us, the zoo lights feature 100s upon 100s of twinkling light displays and adventures for the kids. They host family nights on Monday, December 16, 23 and 30. Kids eat free at the Park Place Cafe and they have unlimited free rides on the Lionel Train and the carousel. Admission is always free.

Winter Wonderfest at Navy Pier. This is another family favorite every year. I recommend getting there when they open as that is when lines are short and it’s way less crowded. Right around lunchtime through the evening it gets very busy. There are rides and bouncy houses for all ages. They also have an ice skating rink. The kids love it! You can usually find discounted tickets on Groupon, too.

A Christmas Carol at the Goodman Theatre. I’ve seen this twice and it really is a great recreation of the timeless classic. With or without the kids, I highly recommend!

The Polar Express. Tickets are now on sale and they sell out fast! This will be our first year going, but I hear it is a blast. It’s a one-hour train ride of fun, snacks and hot chocolate on your way to meet Santa. Tickets run $48-$70 for adults and $38-$62 depending on peak times.

The Nutcracker. An all-time favorite of mine. I can no longer force my husband to go with me as he’s had enough, however, my oldest son is now interested in going. Yay! Running now through December 29th.

Hotel Zachary Breakfast with Santa. Guests can start a new holiday tradition with Breakfast with Santa at Hotel Zachary. On Saturdays and Sundays beginning November 30 through December 22, families are invited to enjoy a special holiday-inspired breakfast buffet featuring assorted pastries and bread, yogurt parfaits, scrambled eggs, biscuits and gravy, white chocolate peppermint pancakes, an omelet station and more, while Jolly Old Saint Nick relaxes near the fireplace, waiting to visit with good boys and girls, and listen to their holiday wishes. Reservations are recommended in advance and will be available beginning November 1, 2019.

photo credit: Chicago Parent

Gallagher Way Holiday Movies. Bundle up for movie nights in the park at Gallagher Way. Holiday movies show every Thursday night in December. If you want to head to the park another day you’ll be met with a Christkindl Market and ice skating rink.

Now for some adult-only fun.

I’ve said it before and I’ll say it again – you haven’t lived until you’ve been to a Christmas pop-up bar!

Frosty’s. A must-see for some holiday fun, a Santa spotting, and some delish holiday-themed cocktails. You have to have tickets and on weekends they usually sell out – so plan ahead!

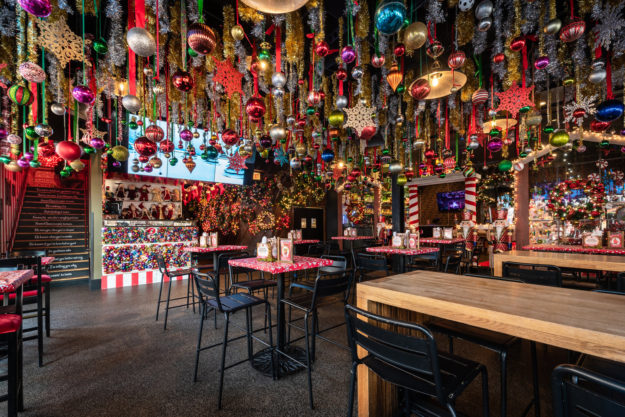
Santa Baby. Another pop-up Christmas bar in Wrigley. Santa Baby is a multi-room, multi-level, over-the-top Christmas experience. I’ll be there just for the spiked hot chocolate! Who’s coming with me? I mean look at those photos from their website! You need to buy tickets for Santa Baby, which can be purchased through their website.

Happy Holidays, Chicago!